How to Conduct a Home Emergency Lighting Audit
How to Conduct a Home Emergency Lighting Audit
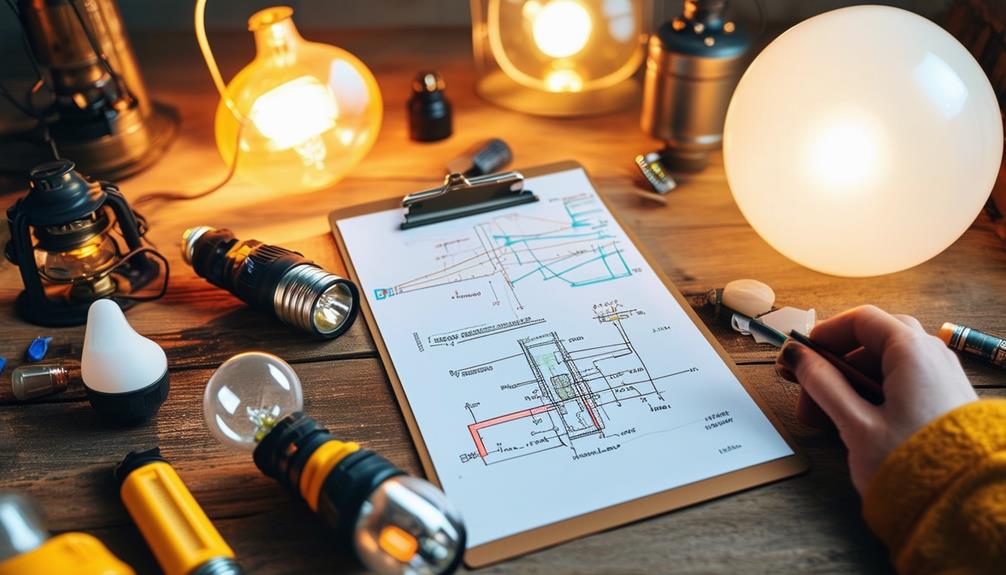
To begin a home emergency lighting audit, gather essential tools such as a flashlight, measuring tape, and a notepad. Identify each emergency light and meticulously record its condition and location.
Regular testing of these lights is crucial to ensure they function properly in emergencies. If you find any faults or malfunctions, follow these steps to address common issues and maintain the reliability and efficiency of your home's emergency lighting system.
Understanding a Lighting Audit
A home emergency lighting audit is an essential step in ensuring your home's safety during power outages. This process evaluates the current state of your emergency lighting systems to confirm their functionality when needed most. You need to inspect and test these lights to determine their reliability.
Conducting a lighting audit essentially involves Emergency Light Testing. This means checking all the emergency lights in your home to ensure they're operational. It's not just about flipping a switch; you must simulate a power outage to see how your emergency lighting systems respond. This way, you can identify any deficiencies that might compromise your home's safety during an actual emergency.
A thorough lighting audit helps pinpoint issues such as dead batteries or faulty circuits that could render your emergency lights ineffective. Regularly scheduled Emergency Light Testing ensures that your lights are always ready to activate when the power goes out. This is crucial for maintaining a safe and prepared household, addressing potential problems before they become critical. Therefore, make sure to test the lights and keep your emergency lighting systems in optimal condition.
Gathering Necessary Tools
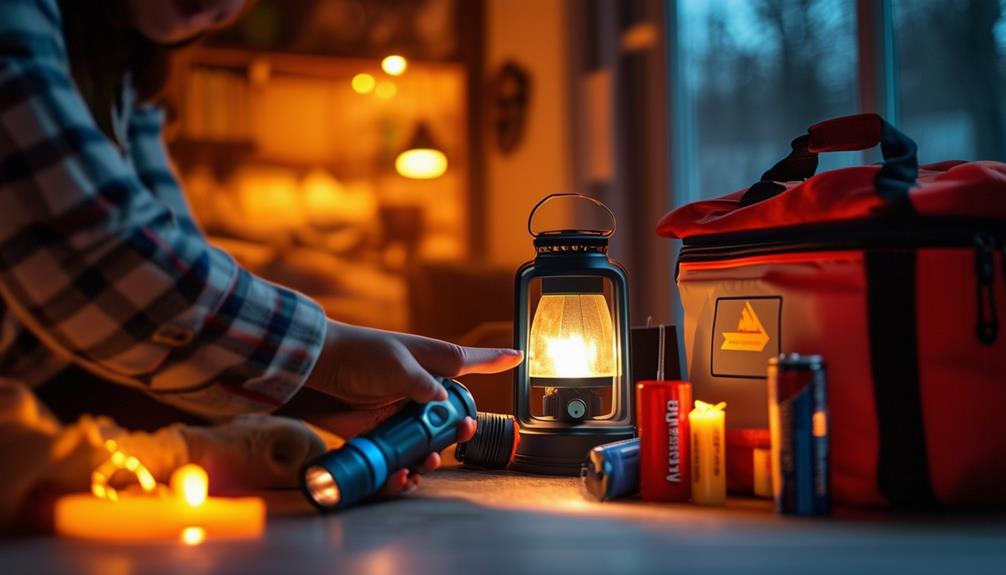
When preparing for your home emergency lighting check, gather essential tools like a flashlight, tape measure, notebook, pen, and digital camera. These tools are crucial for documenting the locations and conditions of your emergency lights. A flashlight ensures you can inspect areas even if the power is out, while a tape measure helps verify that the lights cover the necessary areas effectively.
Don't forget a ladder—it's essential for accessing hard-to-reach places where emergency lighting might be installed. A digital camera is valuable for capturing visual records, which can be handy for future reference or when consulting a professional.
A voltage tester is another important tool. It allows you to confirm if the emergency lights are receiving power during outages, ensuring they'll function when needed. Additionally, having spare batteries or testing equipment enables you to thoroughly check each light's functionality.
Identifying Emergency Lights
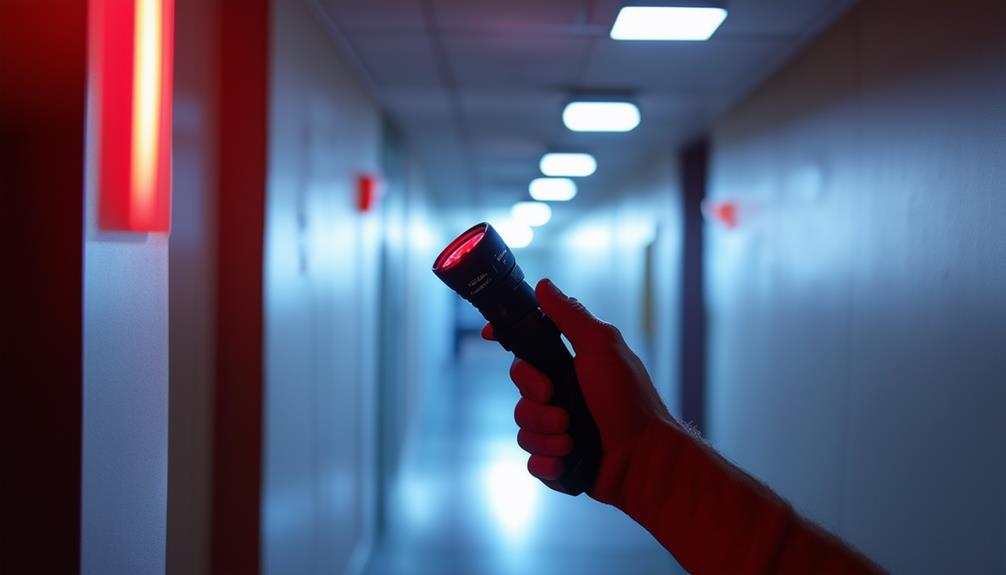
With your tools ready, begin by identifying the emergency lights in your home to ensure they are well-placed and functional. Locate fixtures equipped with battery backups or separate power sources, as these are essential during power outages. Look for wall-mounted or ceiling-mounted emergency lights and exit signs, typically found near exits, stairwells, and corridors to facilitate safe evacuation.
Ensure these emergency lights are easily distinguishable from regular lighting fixtures to avoid confusion during an emergency. Create a list of all emergency lights in your home for future maintenance and testing purposes.
Here's a quick reference to help you check the placement of emergency lights in significant areas:
| Location | Emergency Light Type |
|---|---|
| Near Exits | Exit signs, wall-mounted lights |
| Stairwells | Wall-mounted or ceiling-mounted lights |
| Corridors | Wall-mounted emergency lights |
| Bedrooms | Battery-backup emergency lights |
| Living Areas | Ceiling-mounted emergency lights |
Documenting Current Conditions
Start by meticulously documenting the type, location, and condition of each lighting fixture in your home. This initial assessment will help you understand your current lighting setups and pinpoint areas that require improvement.
Pay close attention to the types of bulbs in use, as different wattages and designs can significantly impact lighting quality and energy efficiency.
While documenting, ensure you:
- Record the wattages and types of bulbs used in each fixture to facilitate accurate replacement planning.
- Take photographs of existing lighting setups to visually track changes during the audit process.
- Note any areas where lighting is inadequate, flickering, or not functioning properly to target specific improvements.
This comprehensive log will serve as an invaluable reference throughout your lighting audit. Keep a detailed record of each room's lighting situation to guide your upgrade decisions effectively.
Testing Emergency Lights

To ensure your emergency lights function correctly during a crisis, routine testing is crucial. Schedule a monthly inspection to turn on each light for at least 30 seconds, verifying they illuminate properly. This brief test helps identify immediate failures or defects that could jeopardize safety.
Annually, conduct a comprehensive 90-minute test to simulate a real power outage scenario. Monitor the lights to ensure they maintain adequate illumination levels throughout the duration. This checks the battery backup system's performance, confirming it can support the lights long enough for safe evacuation.
In addition to functional tests, perform regular visual inspections. Look for physical damage, such as cracked casings or loose connections, that could affect the lights' operation. Also, verify the lights are positioned correctly to cover important escape routes and critical areas.
Regular testing and inspections not only ensure occupant safety but also help maintain compliance with safety standards. Keep your emergency lights in optimal condition, and they'll be reliable when needed most.
Recording Test Results
After completing your routine tests and inspections, it's crucial to meticulously document each result to ensure a well-maintained emergency lighting system. Recording test outcomes isn't merely a formality; it provides a reliable record for future reference and troubleshooting.
Begin by noting the date and time of each emergency light test. This practice helps track adherence to your maintenance schedule. Pay close attention to any lights that fail to illuminate or remain dim during the test, as these require immediate attention to ensure proper functionality during an actual emergency.
Additionally, document any issues with battery backup systems that fail to provide adequate power during testing. This information is vital for identifying and resolving power supply problems.
To enhance your documentation process, maintain a comprehensive log of all emergency lighting audit results. This log will serve multiple purposes, including compliance verification and aiding in troubleshooting future issues.
Key points to include in your log are:
- Date and time of each test
- Lights that failed to illuminate or were dim
- Issues with battery backup systems
Analyzing Findings
Now that you've recorded your test results, it's time to identify any lighting deficiencies and prioritize necessary corrections. Check for malfunctioning fixtures and ensure that battery backups are operational. Addressing these issues promptly will enhance your home's safety during emergencies.
Identifying Lighting Deficiencies
Identifying lighting deficiencies begins with a thorough review of audit findings to pinpoint areas where emergency lighting is insufficient or non-operational. Start by examining the audit for dead batteries, malfunctioning fixtures, or inadequate coverage. These deficiencies can critically undermine the effectiveness of your emergency lighting during power outages or other emergencies.
Evaluate the effectiveness of the emergency lighting in illuminating key areas such as exit routes and critical spaces. Adequate coverage is essential to ensure safe navigation during an emergency. As you review the audit findings, assess the placement of each emergency light to confirm they adequately cover all necessary areas.
Key points to consider:
- Dead Batteries: Inspect all battery-operated lights to ensure they're functional, replacing any depleted batteries.
- Malfunctioning Fixtures: Identify any fixtures that fail to turn on or flicker, and schedule them for repair or replacement.
- Inadequate Coverage: Ensure there are no dark spots in critical areas, such as hallways, staircases, and exits.
Prioritizing Immediate Corrections
Begin the prioritization process by addressing the most critical safety risks identified in the home emergency lighting audit. Start by pinpointing any emergency lighting deficiencies that pose a substantial safety risk to you and other occupants. Your initial priority should be to correct issues that directly impact the functionality and reliability of your emergency lighting system.
Focus on emergency lighting systems that fail to meet regulatory requirements. These systems aren't only non-compliant but also potentially unsafe during power outages. Ensuring your emergency lighting meets these standards is vital for safe navigation and egress.
Next, prioritize corrections for components necessary for safe navigation and egress, such as lighting in key areas like stairwells, hallways, and exit routes. Adequate illumination in these areas is crucial for a quick and safe evacuation if the power goes out.
Don't overlook the significance of regular maintenance and testing. Address any immediate issues found during the emergency lighting audit to ensure the system remains reliable.
Addressing Faults
Having identified the common issues in your home emergency lighting, it's essential to repair faulty fixtures and ensure compliance with safety codes. Begin by addressing flickering lights, burnt-out bulbs, and malfunctioning switches. Prioritize these repairs to maintain an effective and reliable emergency lighting system.
Identifying Common Issues
During a home emergency lighting check, you may encounter problems such as dead batteries, faulty wiring, or damaged fixtures that require immediate attention. An effective evaluation involves testing all lights to identify any issues and confirming their functionality during an emergency. By identifying common problems early, you can prevent potential hazards and ensure your home remains safe during emergencies.
Common issues include:
- Burned-out bulbs: Replace these immediately to ensure proper illumination.
- Loose connections: Tighten them to prevent intermittent lighting failures.
- Inadequate backup power sources: Verify that batteries or generators are sufficient to maintain lighting during power outages.
Additionally, check for placement issues. Lights blocked by furniture or poorly positioned can hinder safe evacuation. Ensure all emergency lights are strategically placed to clearly illuminate exit paths. Regular testing of the lights will help you confirm they meet regulatory standards and provide adequate illumination levels.
Document all identified faults and prioritize them. Creating a plan to address these issues will improve the overall effectiveness of your emergency lighting system. By staying proactive, you can ensure your home remains safe and well-lit during emergencies.
Repairing Faulty Fixtures
Promptly addressing faulty fixtures ensures your emergency lighting system remains reliable when you need it most. Start by identifying and troubleshooting issues such as loose connections, damaged wiring, or burned-out bulbs. Regular testing is crucial; it uncovers hidden problems that could compromise your safety during a power outage.
Upon discovering a fault, act immediately. Replace malfunctioning components like ballasts or batteries, which often wear out over time and can cause the entire fixture to fail. Ensure repairs restore full functionality to meet compliance standards. Regular maintenance and prompt repairs prevent unexpected failures, keeping your home secure.
Here's a quick reference table to guide you through common faults and solutions:
| Fault | Possible Cause | Action Required |
|---|---|---|
| Loose connections | Worn or damaged wiring | Secure or replace wiring |
| Burned-out bulbs | Expired bulb life | Replace bulbs |
| Malfunctioning ballast | Component failure | Replace ballast |
| Dead battery | End of battery life | Replace battery |
| Flickering lights | Poor connections | Check and secure connections |
Ensuring Code Compliance
Ensuring that your emergency lighting system complies with safety codes requires promptly addressing any identified faults. Regular audits are essential for detecting issues like dead batteries, damaged fixtures, or incorrect installations. Once faults are identified, document and rectify them to maintain compliance and adhere to safety standards.
Failing to address these faults can lead to significant safety risks and potential liability concerns. Prompt action is therefore critical. Follow these key steps:
- Inspect and Replace Components: Check for malfunctioning parts, such as dead batteries or broken fixtures, and replace them immediately.
- Review Installation: Verify that all emergency lighting fixtures are correctly installed according to the manufacturer's guidelines and local building codes.
- Document and Follow Up: Keep detailed records of all identified faults and the steps taken to address them. This documentation is crucial for future audits and demonstrating compliance.
Re-testing for Assurance
Regularly re-testing your emergency lights ensures they function properly during power outages. By conducting tests on a consistent schedule, you confirm that each light is operational and ready for any emergency. This proactive approach helps you identify issues or malfunctions promptly, giving you peace of mind that your home remains safe.
It's important to adhere to a re-testing schedule to maintain a safe environment. Monthly testing can quickly reveal problems such as burnt-out bulbs or faulty wiring, allowing you to address them before an emergency occurs. Don't wait until it's too late; consistent testing is crucial.
Additionally, documenting the results of each test is essential. Keeping a log of your tests not only helps you track the performance of your emergency lighting but also ensures compliance with safety standards. This documentation can be invaluable during inspections or in the event of an actual emergency.
Re-testing provides assurance that your emergency lights will work when needed, offering you and your family a sense of security. Make it a habit to test your lights regularly, and you'll always be prepared for unexpected power outages.
Regular Maintenance Plan
A well-structured maintenance plan for your emergency lighting system is crucial for ensuring dependable performance during power outages. To start, schedule monthly tests where you activate the emergency lighting for at least 30 seconds. This helps you check if the lights are operational and catch any issues early on.
Next, you should conduct an annual 90-minute test. This longer test simulates a real power outage scenario, allowing you to verify the performance of the battery backup. The goal is to confirm that your emergency lights remain on for the full duration, validating they'll be effective when you need them most.
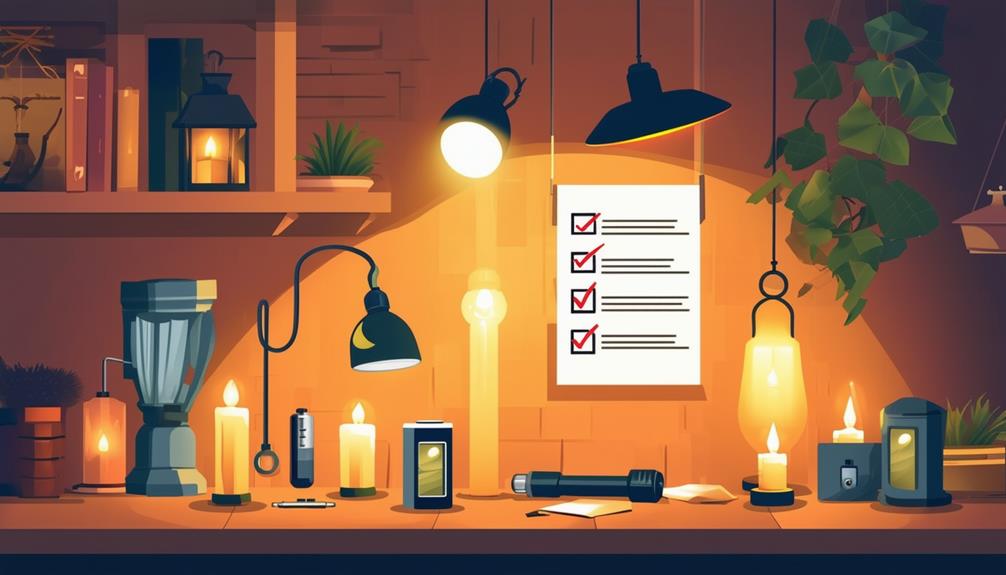
Here's a concise checklist to keep your emergency lighting in top shape:
- Monthly tests: Test each light for at least 30 seconds to ensure they activate.
- Annual 90-minute test: Simulate a power outage to verify battery backup performance.
- Battery management: Keep spare batteries on hand and replace them as needed.
Don't forget to document all your maintenance activities and test results. Keeping detailed records helps you stay compliant with safety standards and offers a quick reference for any future troubleshooting. With regular maintenance, your emergency lighting will be ready whenever an outage strikes.
Conclusion
Conducting a home emergency lighting audit ensures both safety and peace of mind. Regularly gather your tools, document conditions, and test your lights to identify and fix any issues promptly.
After initial testing, re-test to confirm everything is functioning correctly and establish a maintenance routine. These proactive steps help you stay prepared for emergencies, ensuring your home remains safe and compliant. Consistent diligence means you'll always be ready for the unexpected.