Making Emergency Candles Last: Tips and Tricks
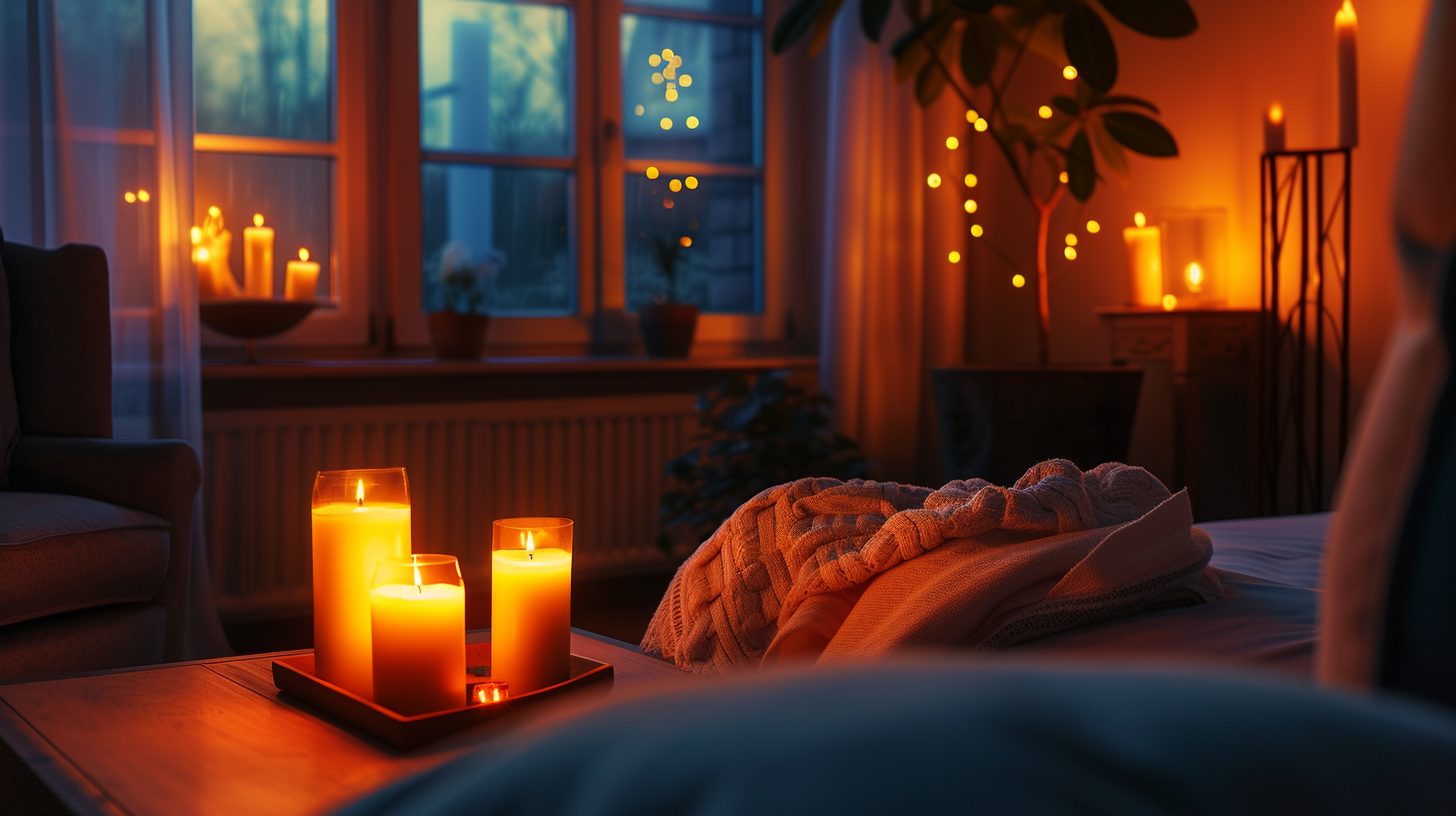
Just as a lighthouse guides ships through treacherous waters, your emergency candles are a beacon of light during unexpected darkness. But have you ever found yourself watching the last flicker of a candle, wishing you'd made it last longer? You're not alone.
Making your emergency candles endure through the night or longer requires more than just lighting them; it involves understanding the art of candle care and optimization. From selecting the right types of candles for longevity to mastering efficient burning techniques, there's a wealth of knowledge to explore.
Furthermore, with homemade candle hacks and maintenance tips, you'll discover how to extend their life significantly. And when it comes to maximizing the use of every last bit of wax, there are strategies you might not have considered.
So, if you're keen on ensuring your light doesn't go out when you need it most, let's explore how you can turn your emergency candles into lasting lamps of resilience.
Key Takeaways
- Opt for soy wax candles with a burn time of up to 50 hours to ensure long-lasting emergency lighting.
- Use containers that can withstand heat, like Mason jars, to prevent accidents and maximize the lifespan of the candles.
- Trim the wicks before each use and burn candles continuously for longer periods to prevent soot and ensure clean and even burning.
- Repurpose leftover candle wax by melting it down and pouring it into new containers with a new wick for cost-effective and eco-friendly emergency lighting.
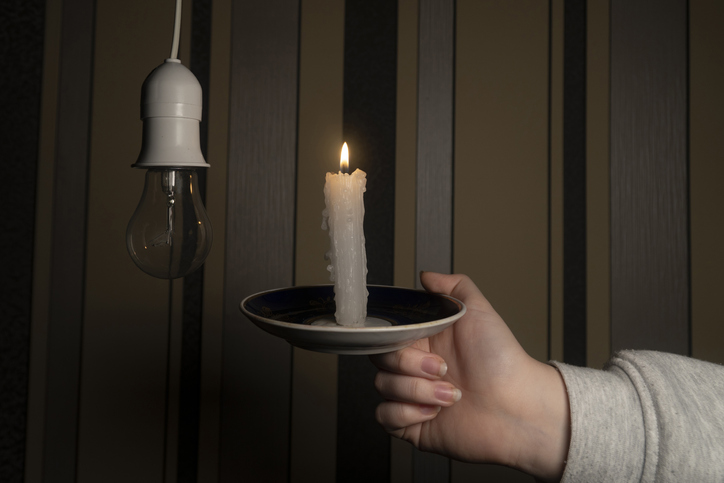
Selecting Long-Lasting Candles
Choosing the right candles can turn fleeting moments into lasting memories, so opt for soy wax candles that promise up to 50 hours of burn time. When power outages strike, having emergency candles on hand ensures you're prepared. To make your own, start with soy wax flakes, renowned for their extended burn time and eco-friendliness.
You'll want to make sure you're using containers that can withstand the heat—Mason jars aren't only sturdy but also add a touch of charm to your candle making. Selecting the right wick is crucial; it should be sized appropriately for your Mason jar to guarantee a consistent and long-lasting burn. Once you've melted your wax flakes, consider adding a bit of olive oil. It's a little-known trick that can help extend burn times even further.
Before pouring the wax into your jars, ensure you've secured the wick around a pencil or skewer to keep it centered. Remember to trim the wicks before each use to about ¼ inch. This small step is key to preventing soot and ensuring your candles burn cleanly and last as long as possible.
With these tips, you're all set to create emergency candles that not only last but also light up your space with warmth and safety.
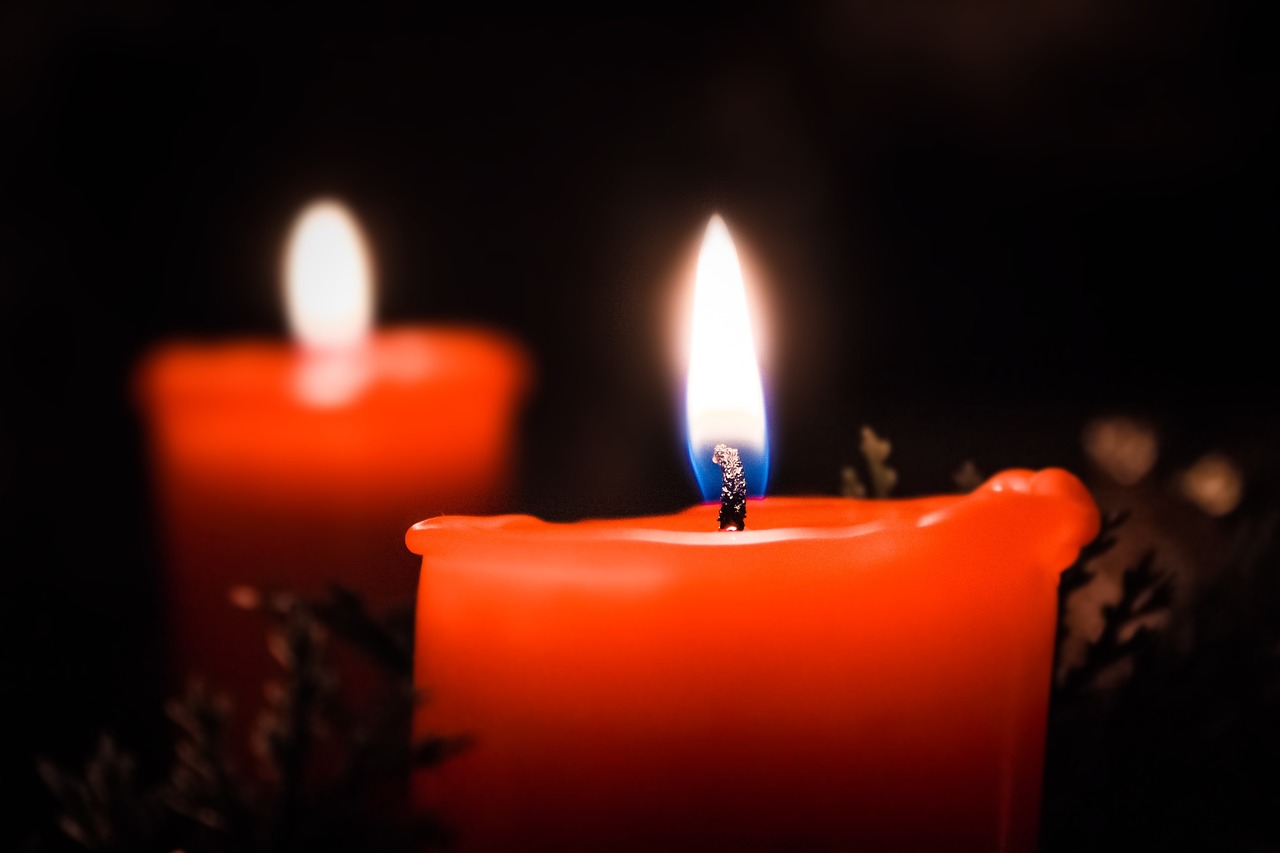
Efficient Burning Techniques
After mastering the art of making long-lasting emergency candles, it's crucial to learn how to burn them efficiently to ensure maximum durability. Efficient burning techniques are essential for your emergency preparedness toolkit, especially when relying on homemade emergency solutions. Here's how you can make your DIY candle last longer:
Burn candles continuously: Let the candle burn for longer periods instead of short bursts to maximize its lifespan.
Trim the wick: Make sure the wick is trimmed to a quarter-inch before lighting. This ensures a clean and even burn.
Using cotton string as a wick can enhance the burn quality.
If you're making an oil candle, add more oil before it runs too low to avoid damaging the wick.
Experiment with oils: Adding different fragrance or essential oils can't only customize your emergency candle but may also affect the burn rate. Experiment to find the perfect balance.
Homemade Candle Hacks
To elevate your emergency candle game, consider these ingenious homemade hacks that'll transform your candle-making process.
First off, ditch the traditional and go DIY with your wax selection. Whether you're repurposing leftover candle stubs or using cooking oil, the base of your emergency candle is crucial. Melt your wax in a double boiler, ensuring you're handling the hot wax with care to avoid burns.
For the wick, think outside the box. A paper wick or a strip of cotton fabric can work wonders, offering a clean and even burn when trimmed to a quarter-inch length. This simple adjustment can significantly extend the life of your homemade candles.
Don't be afraid to add a personal touch. A wax crayon can introduce color, while a few drops of your favorite fragrance or essential oil can create a soothing ambiance. Remember, you're not just making an emergency candle; you're crafting an experience.
Always prioritize safety by setting your candles on a fire-resistant surface and keeping them away from flammable materials. And for optimal performance and pricing, source your supplies from reputable suppliers.
With these hacks, you'll not only be prepared but do so with candles that reflect your personal touch.
Candle Maintenance Tips
Maintaining your candles properly can significantly extend their lifespan and ensure a cleaner, more efficient burn. By following a few simple candle maintenance tips, you can make the best out of your emergency or decorative candles, keeping them burning brightly and safely.
Trim the Candle Wicks:
- Before lighting, always trim the wick to about 1/4 inch. This promotes a clean and even burn, reducing soot and smoke.
- Making sure the wick is trimmed will also prevent the flame from becoming too large.
Maximize Burn Time:
- For small candles, let them burn continuously for longer periods. This helps the wax to melt evenly across the surface, avoiding tunneling.
- Melting the bottom layer of wax ensures a self-contained candle, making use less wasteful.
Experiment and Troubleshoot:
- Don't hesitate to experiment with different fragrances or essential oils to create a unique candle experience.
- If you encounter issues, use resources like Candle Science's help page for troubleshooting tips.
Optimizing Candle Placement
Having covered how to maintain your candles for a better burn, let's now focus on where to place them for optimal light and warmth.
When you're using an emergency candle, optimizing candle placement can make a significant difference. To begin, strategically position candles around the room. This ensures an even spread of light and heat. Consider setting them on reflective surfaces, like glass or metal, to amplify their light. This simple trick, using common household items, can enhance the candle's glow without costing you extra for free shipping on fancy gadgets.
Additionally, it's essential to keep your candles away from drafts and air vents. A steady, consistent burn is crucial, and placing your candle in a drafty spot can disrupt the wick's performance. Using candle holders or stands not only elevates the candle for broader illumination but also protects your surfaces from heat damage.
Grouping candles together can create a more intense source of light and warmth, especially in larger rooms. Wrapping a bit of aluminum foil around the candle can further reflect light, maximizing efficiency. Add a few drops of essential oils to the wax near the wick for a pleasant scent, making your emergency situation a bit more bearable.
Reusing Candle Wax
Breathing new life into old candles, reusing candle wax is a cost-effective and eco-friendly way to keep your emergency lighting ready. By melting down the remnants of used candles, you can create new ones that are just as effective for your survival needs.
Here's how you can transform leftover wax into reliable emergency or survival candles:
Melting the Wax: Use a double boiler or a microwave to safely melt down your leftover candle wax. Always ensure you're following safety precautions to avoid burns or fires.
Preparing New Containers: Choose a new container for your candle. This could be anything from an old jar to a tin can. Secure a wick at the bottom of the container. If you're using soy wax, make sure the top of the wick stands firm. You can even make a hole in an old t-shirt to hold the wick in place.
Creating Unique Candles: Feel free to mix different scents and colors of wax to make your emergency candles more personalized. Pour the melted wax into the prepared container, ensuring the wick stays centered.
Conclusion
In conclusion, making your emergency candles last longer is all about choosing the right materials, burning them efficiently, and maintaining them properly. By following these tips and tricks, you'll ensure you've got a reliable source of light when you need it most.
Remember, optimizing candle placement and reusing wax not only extends the life of your candles but also supports a more sustainable practice. So, go ahead, get creative, and stay prepared for any situation.