Can You Make a 300-Hour Emergency Candle? Essential Tips and Guide

Yes, you can make a 300-hour emergency candle, and it's easier than you might think. Having long-lasting candles can be crucial during power outages or other emergency situations. Preparedness is key, and knowing how to create these candles can offer peace of mind.
Creating an emergency candle involves using materials that are easy to find around the house. Items like Crisco, beeswax, or paraffin can be used and placed in jars or makeshift molds. These choices not only ensure a long burn time but also prioritize safety.
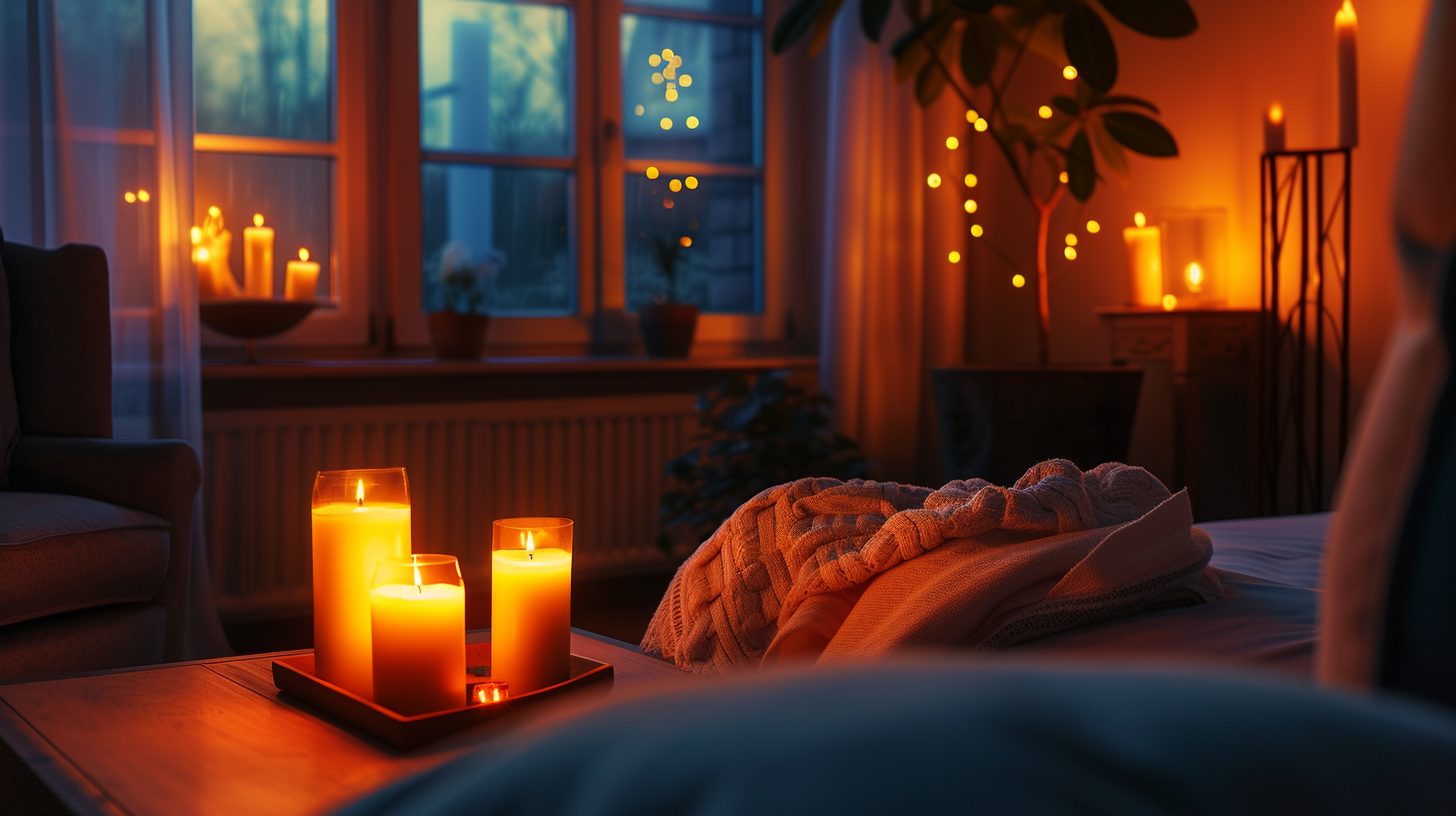
In a situation where light is essential for safety and comfort, such a candle becomes invaluable. It's a practical and achievable project that anyone can do to enhance their emergency preparedness. Plus, once made, these candles are reliable sources of light, capable of lasting for several days.
Understanding Emergency Candles
Emergency candles are crucial during power outages or survival situations. This section provides an in-depth look at what makes these candles unique and the benefits of having a long burn time.
Defining an Emergency Candle
An emergency candle is designed to burn for an extended period, providing light when other sources are unavailable. It's usually made from slow-burning materials like beeswax or soy wax. Unlike regular candles, emergency candles often have thicker wicks for a steadier flame.
These candles are essential for survival kits. Their designs ensure they remain stable and burn safely for long periods. For instance, a 100-hour candle can offer continuous light for several days, making them ideal for emergencies.
Benefits of Long Burn Time
A long burn time is a key feature of an emergency candle. This means fewer replacements and less worry about running out of light. A 300-hour candle can last for weeks if used sparingly, which is critical during prolonged power outages or in remote locations.
Long-burn candles also offer economic benefits. While initially more expensive, their extended use makes them cost-effective in the long run. Additionally, they provide a reliable light source, reducing the need for multiple candles and ensuring consistent illumination.
| Feature | Typical Candle | Emergency Candle |
|---|---|---|
| Burn Time | Few hours | Up to 300 hours |
| Material | Paraffin | Beeswax, Soy Wax |
| Wick Thickness | Thin | Thick |
| Light Stability | Variable | Steady flame |
Essential Materials for a 300-Hour Candle
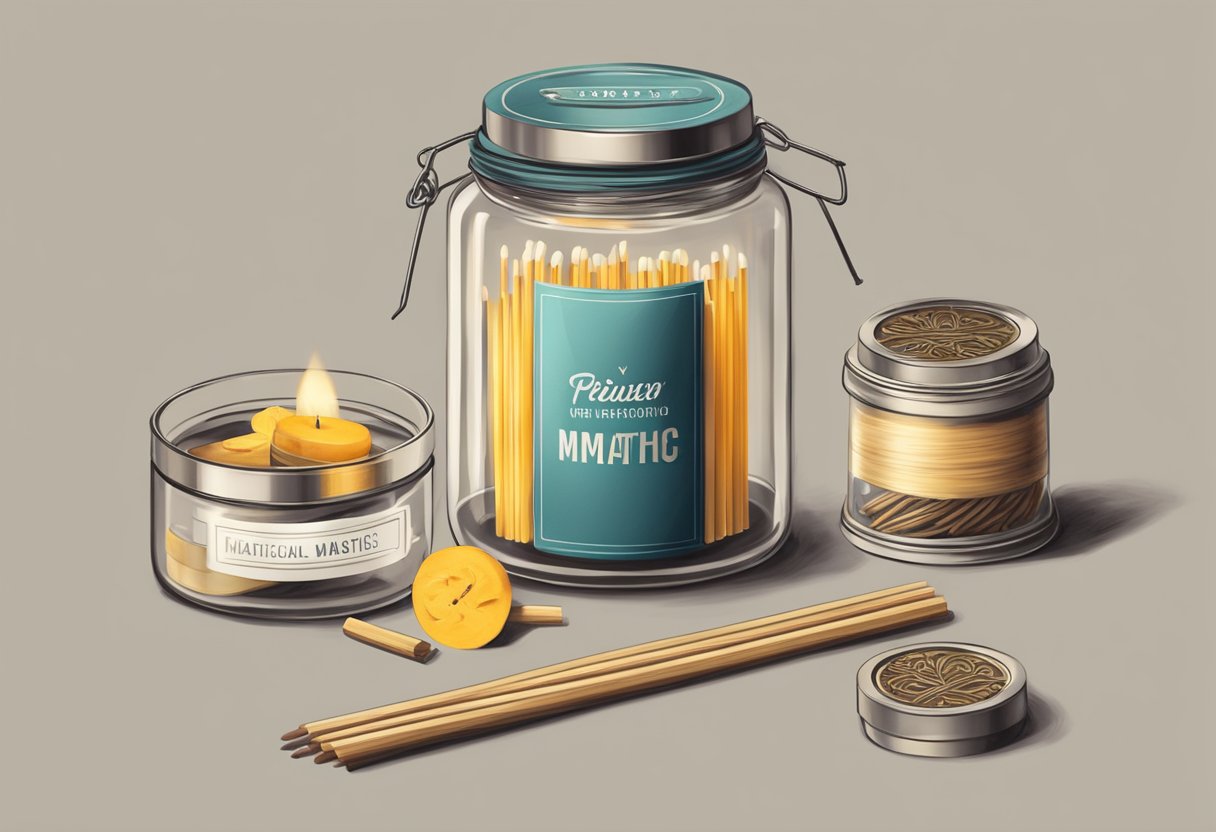
Creating a 300-hour emergency candle requires selecting the right wick, choosing suitable fats or oils, and using a sturdy container to ensure safety and efficiency.
Choosing the Right Wick
The wick is a crucial part of an emergency candle. Cotton string is an excellent choice due to its effectiveness in burning steadily and safely.
Wick Types:
- Store-bought wicks: These are pre-waxed and ready to use.
- Homemade cotton string wicks: These can be easily made by soaking cotton string in salt and boric acid solution.
The wick's thickness should match the candle's size. A thicker candle needs a thicker wick to burn correctly. Avoid wicks that are too thin, as they might not burn through the entire candle.
Selecting the Correct Fat or Oil
The fuel for the candle can be various types of fats or oils found in many homes.
Common choices:
- Crisco (vegetable shortening): Popular for its long-lasting burn.
- Vegetable oil: A common household item that can serve as fuel.
Other options:
- Animal fats like lard or tallow can also be used but may not be as readily available or convenient.
Ensure the fat or oil is evenly distributed around the wick. This balance helps to achieve a consistent burn rate and extends the life of the candle.
The Role of a Sturdy Container
The container is essential for the safety and stability of the candle.
Suitable containers:
- Glass jars: Mason jars are a top pick due to their heat resistance and availability.
- Metal tins: These can also work well and handle high temperatures.
Make sure the container has a lid if possible. This feature allows you to extinguish the candle by restricting airflow. It's crucial to drill a hole in the lid for the wick to pass through, preventing spills and improving efficiency.
A sturdy container prevents accidents like tipping over and contains the liquid fat or oil, maintaining the candle’s lifespan and effectiveness.
Constructing a 300-Hour Candle
Making a 300-hour emergency candle is straightforward and requires simple materials like wax, a wick, and a suitable container. The process involves assembling the materials, setting up and securing the wick, filling the container with a solid or liquid fuel, and finalizing the construction.
Assembling the Materials
To start, gather the necessary supplies. The main components are a container, wick, and fuel. Suitable fuels are Crisco shortening or oils.
Materials Needed:
- A large container (like a mason jar)
- Several wicks (cotton string works well)
- Crisco shortening or another solid/oil
- Tape and scissors
Craft stores often have wicks if you don't have cotton string.
Setting Up the Wick
The wick is critical for ensuring the candle burns steadily. If using cotton string, cut it to an appropriate length, considering the height of your container.
Follow these steps:
- Measure the height of the container.
- Cut the wick or string about an inch longer.
- Tie a small weight to one end of the wick, ensuring it stays submerged.
You want the wick to extend above the shortening or oil by about half an inch.
Securing the Wick in Place
Securing the wick prevents it from moving around while you’re pouring the fuel. Tape the top of the wick to a stick or pencil, resting it across the top of the container.
Here’s how:
- Place the stick/pencil horizontally across the container's opening.
- Position the wick in the center, taped to the stick/pencil.
- Ensure the wick stays straight and centered.
This setup helps the wick stay upright once the shortening is added.
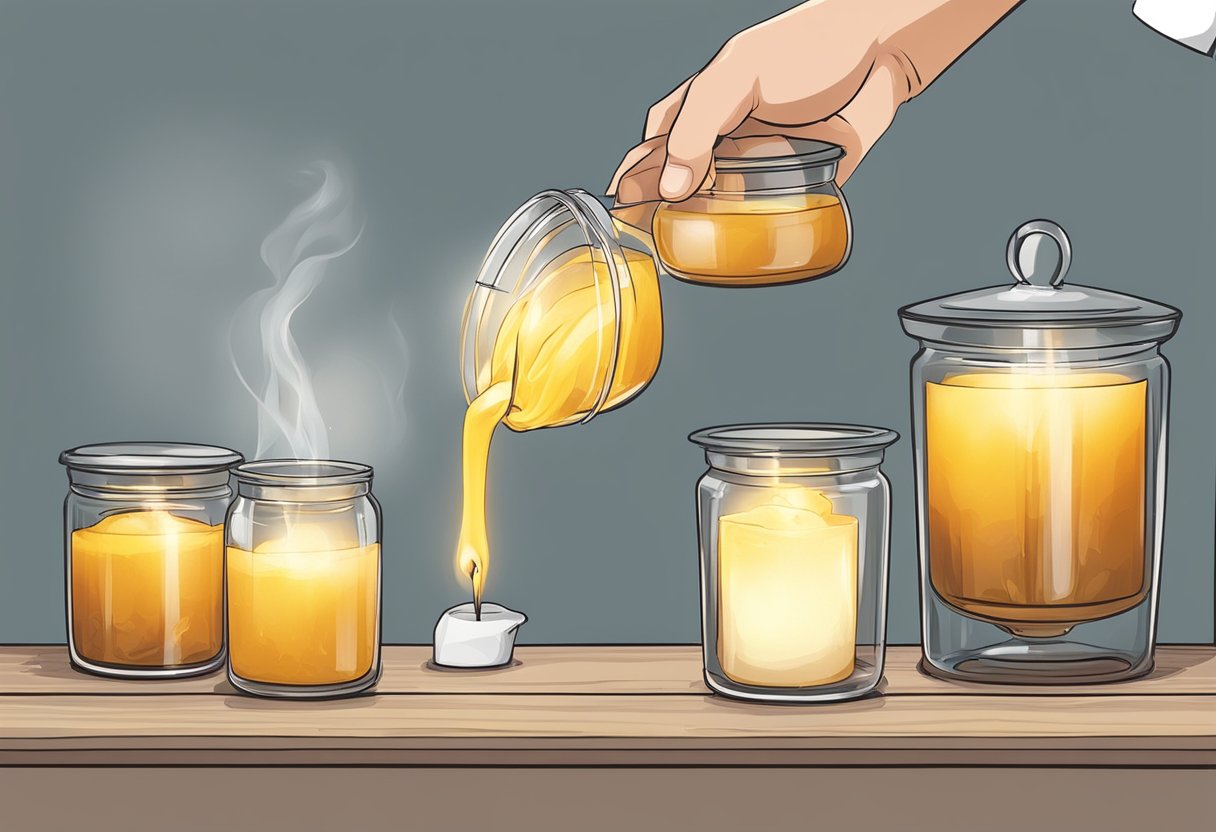
Filling the Container with Shortening or Oil
Next, prepare the container with the fuel. Crisco shortening is a popular choice because it is solid at room temperature and burns well.
Steps to follow:
- Spoon Crisco shortening into the container, packing it down tightly.
- Ensure the wick remains centered.
- Fill the container up to about an inch below the rim.
Alternatively, you can use liquid oils, but they must be solidified by placing the container in the refrigerator after filling.
Finalizing the Construction
Once the container is filled and the wick is secure, it's time to finalize the construction. Let the shortening or oil firm up if it’s not solid yet.
Final Steps:
- Adjust the wick so only half an inch protrudes above the surface.
- Ensure the fuel around the wick is smooth and even.
- If necessary, place the container in a cool place to solidify the fuel fully.
After this, your 300-hour candle is ready for use. It’s a convenient, long-lasting light source perfect for emergencies or long-term usage.
Safety Considerations
When making a 300-hour emergency candle, it is crucial to prioritize safety. Ensuring the candle is used correctly minimizes the risk of fire and accidents, especially around pets and children.
Preventing Fire Hazards
To prevent fire hazards, always place the candle on a stable, heat-resistant surface. Avoid using flammable materials near the candle, such as curtains, paper, and fabrics. Never leave the candle unattended while it is burning.
Keep a fire extinguisher or first aid kit nearby for emergencies. Ensure the room is well-ventilated to avoid any buildup of dangerous fumes. Trim the wick to about 1/4 inch before each use to maintain a steady burn and reduce the risk of a large flame or soot production.
Handling the Candle Safely
When handling the candle, make sure it is completely solidified before moving to prevent spills. Use oven mitts or heat-resistant gloves if the container is still warm.
Store the candle in a cool, dry place when not in use to extend its burn time and ensure the wax remains in good condition. In case of emergencies, having a flashlight as an alternative light source is a wise precaution.
Keeping Away from Pets and Children
Pets and children are naturally curious, making it essential to place the candle in areas they cannot easily reach. Use candle holders with protective covers or place the candle inside a taller glass jar to prevent accidental knocks and spills.
Educate older kids about candle safety and the importance of not playing with fire. Consider using battery-operated candles as a safer option in homes with young children or pets. Always monitor the areas where candles are lit to ensure they stay safe and secure.
Maximizing Efficiency and Burn Time
To make a 300-hour emergency candle, focus on using the right materials and techniques. Key factors include optimizing the wick size and type, regulating the burn rate, and minimizing waste.
Optimizing the Wick Size and Type
Choosing the appropriate wick is crucial for maximizing candle burn time. Cotton wicks are common and efficient, but the size matters. A thin wick burns slower, conserving wax. However, if too thin, it might drown in the melted wax.
Wick Types:
- Flat-braided: Best for slow, even burns.
- Square-braided: Ideal for thicker candles.
Testing different wicks helps find the right balance. A properly sized wick will maintain a steady flame, avoiding soot and excessive wax pooling.
Regulating the Burn Rate
Controlling the burn rate involves using materials and conditions that promote efficiency. Using pure beeswax or high-quality paraffin can extend burn times. Beeswax has a higher melting point, making it last longer.
Burn Rate Tips:
- Environment: Shield candles from drafts to prevent flickering and uneven burning.
- Additives: Mix in small amounts of stearic acid to harden the wax, leading to a slower burn.
Maintaining a low and steady burn rate is essential for long-lasting candles.
Minimizing Waste
Minimizing waste ensures the candle burns for its maximum possible time. Use proper containers like mason jars to hold the wax and wick in place.
Waste Minimization Tips:
- Trim Wick: Keep the wick trimmed to around ¼ inch to prevent large flames.
- Re-purpose Wax: Collect and reuse any wax that melts over the edge.
Containers aid in preventing wax spillage and enhance burn efficiency. Choosing the right methods and materials will make a significant difference in achieving extended burn times.
Alternative Approaches and Variations
Experimenting with different fats and oils, creating multiple light sources, and making smaller candles can help you customize your emergency candles to better suit various needs.
Using Different Types of Fats and Oils
Different fats and oils can be used to create emergency candles. Vegetable oil, shortening, and animal fats are popular choices. Butter candles are another option, but they tend to emit a strong odor.
Vegetable shortening is a common choice due to its stability and availability. Animal fats like lard or tallow can also be used. They provide a long burn time but might need to be filtered to remove impurities. Choosing the right fat or oil can depend on what's most readily available in your region and the specific use case.
Creating Multiple Light Sources
Creating multiple light sources involves making several candles instead of one large one. This approach can be useful in survival kits or during camping trips. By having multiple candles, you can light up different areas of your space, providing better illumination and more flexibility.
Using mason jars or tin cans allows for easy transport and use. Adding multiple wicks to larger containers can also create more light. For instance, a large tin can with several wicks can serve as a robust light source for a larger area.
Making Smaller Candles for Portability
Smaller candles are essential for portability and convenience. They fit well in a survival kit or emergency pack. These can be made using small containers like baby food jars or film canisters. Wax-coated cotton wicks work well for these smaller sizes.
Smaller candles are easier to carry and quick to make. While they won't last as long as larger candles, their convenience makes them valuable for short-term emergencies. They can be easily distributed in a space, ensuring light is available where needed most.
Incorporating the Candle into Survival Kits
Including a 300-hour emergency candle in a survival kit ensures a reliable light source. It can be useful during power outages, camping, or other emergencies.
Selecting the Right Size and Number of Candles
When picking candles for a survival kit, size and quantity matter. A 300-hour candle is substantial, so ensure there's enough space in the kit. Smaller kits may only fit a couple of such candles, while larger kits can store more.
Consider the emergency duration and number of people when choosing the number of candles. For longer emergencies or more people, pack extra candles.
Pairing with Other Emergency Tools
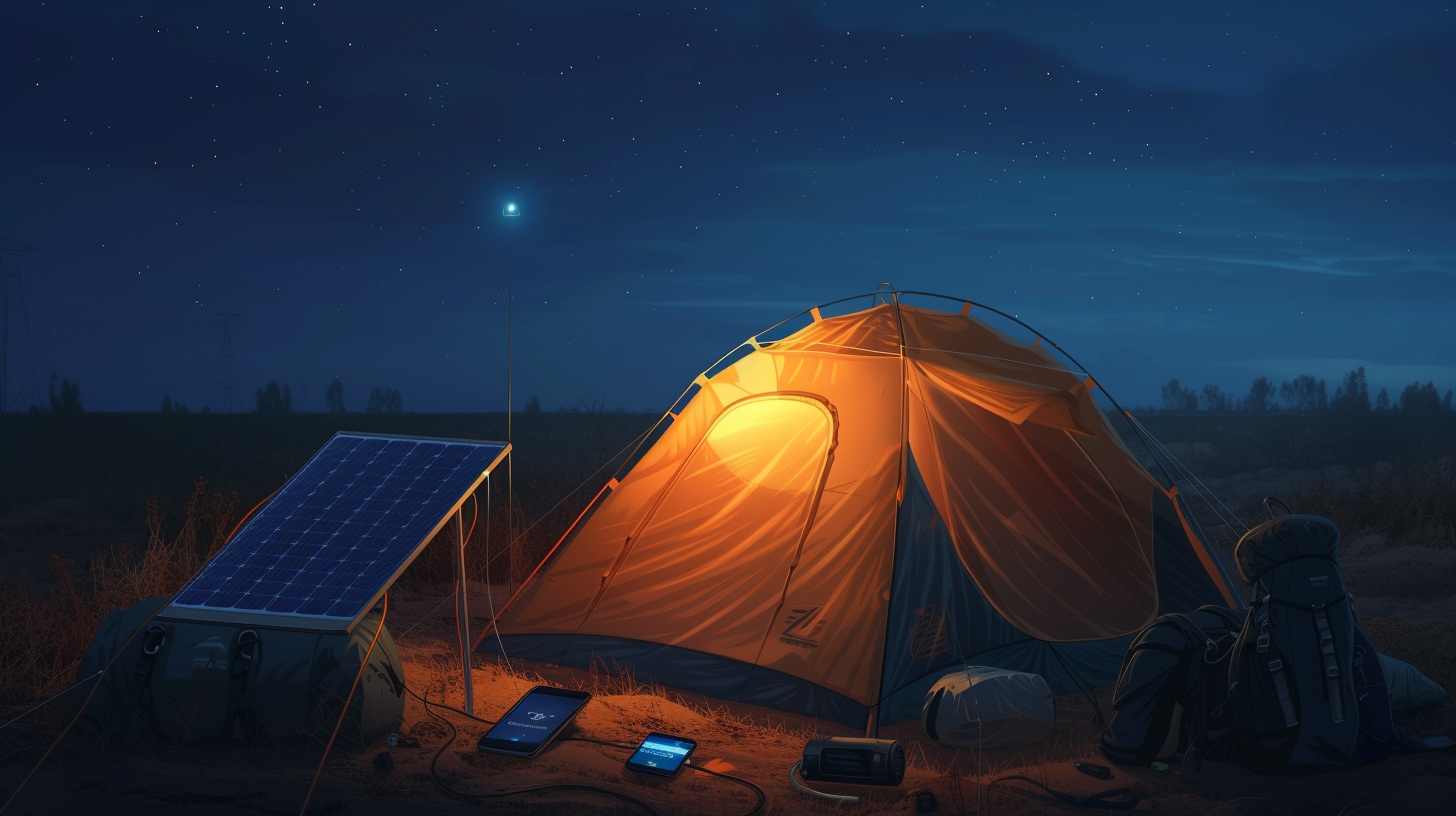
An emergency candle works best when paired with other survival tools. Place flashlights and extra batteries in the kit alongside the candle. This provides backup lighting options. First aid supplies should also be in the kit to handle minor injuries during emergencies.
Include matches or lighters to light the candle easily. Consider windproof matches for reliable ignition in harsh conditions.
Keep the candle in a sturdy container to prevent damage and spills. Combine the candle with additional light sources like LED lanterns for versatile lighting solutions.
Cost-Benefit Analysis
Creating a 300-hour emergency candle involves comparing their costs to standard options and assessing the difference between homemade versus store-bought versions. This helps in deciding the most efficient and economical approach.
Comparing 300-Hour Candles with Standard Options
300-hour candles offer long-lasting illumination during emergencies, making them highly practical. Standard candles typically burn for a few hours, requiring more frequent replacement.
Due to their longevity, 300-hour candles can save money over time despite higher initial costs. Cheap, standard candles might seem more affordable upfront, but the cumulative expense adds up quickly.
Materials needed for a 300-hour candle include a large amount of wax and a heavy-duty wick, making the process more intensive than standard candle making. While craft stores often price these materials competitively, the total expense for a single 300-hour candle can be substantial.
Evaluating the Cost of Homemade vs. Store-Bought
Homemade candles can be cheaper if materials are bought in bulk. Wax, wicks, and containers can all be sourced cost-effectively from craft stores. Crafting at home also offers customization and control over material quality, which might result in better-performing emergency candles.
Store-bought 300-hour candles, though more expensive, save time and effort. They are professionally produced and usually tested for performance, which might not be guaranteed with homemade versions.
Price comparisons indicate that while store-bought emergency candles may initially be pricey, the guaranteed quality and convenience might justify the expense for some users. Homemade versions offer a cheaper alternative for those willing to invest time in making them.
Maintenance and Long-Term Storage
Proper care and storage are essential to ensure your 300-hour emergency candle is ready when you need it. This includes safe storage methods, regular checks, and timely replacement of parts.
Proper Storage Practices
To start, keep the candle in a cool, dry place away from direct sunlight. Sunlight can cause the materials to degrade over time. Ensure the storage area is free from moisture to prevent any damage to the wick or oil components.
Using an airtight container can help in maintaining the condition of the candle. A tin or glass jar with a secure lid is ideal. Make sure the container is clean before storing the candle.
Regular Inspection and Candle Care
Regularly check the candle for any signs of wear or damage. Inspect the wick to ensure it's not frayed or broken. If the wick looks damaged, it might affect the burn time.
Every few months, take a few minutes to ensure that the candle hasn’t absorbed any moisture or foreign materials, which can impact effectiveness. This is especially important if the candle is stored in less than ideal conditions.
Replacing Components When Needed
If you notice any damage to the wick or if the oil appears degraded, it’s important to replace these components. A fresh wick can extend the life of your candle. Make sure you have spare wicks stored along with the candle.
For oil-based candles, periodically check the oil levels. If required, top them up with the same type of oil used initially. Using a different oil can alter the burning properties and reduce efficiency.