How to Get a Candle to Burn Evenly Every Time
Ever lit a candle only to watch it burn unevenly, leaving behind wasted wax and an unsightly tunnel down the center? You’re not alone—and the good news is, it’s avoidable. Whether you're a candle enthusiast or just enjoy the occasional cozy glow, knowing how to get a candle to burn evenly can help you make the most of every flame.
In this guide, we’ll walk you through simple tips and tricks to ensure a clean, consistent burn every time—saving your candles and your money.
| Tip | Description | Why It Helps |
|---|---|---|
| Let the First Burn Reach the Edges | Burn the candle for 1 hour per inch of diameter during the first use to form a full wax pool. | Prevents tunneling and establishes wax memory for even future burns. |
| Trim the Wick to ¼ Inch | Trim before each burn using scissors or wick trimmers. | Reduces smoke, soot, and uneven melting; keeps the flame steady. |
| Use the Right Wick Size | Match wick size to candle diameter; consider wick material (cotton or wood). | Ensures proper heat output for full wax melt and clean burning. |
| Avoid Drafts | Keep candles away from fans, windows, and air vents. | Prevents flickering and uneven heat distribution, which leads to tunneling. |
| Place on a Level Surface | Use flat, stable surfaces or trays to keep the candle upright. | Prevents wax from pooling unevenly or spilling to one side. |
| Fix Tunneling (If It Happens) | Use the hair dryer method, aluminum foil method, or scoop and reset technique. | Restores a level surface and resets wax memory for future even burns. |
| Store Candles Properly | Keep in a cool, dry place; away from sunlight, temperature swings, and strong odors. | Preserves candle shape, scent, and burning quality over time. |
| Practice Regular Maintenance | Trim the wick, burn long enough, avoid drafts, and keep the candle level. | Improves performance, extends burn time, and reduces wax waste. |
Understanding Candle Wax Memory
Believe it or not, candles have a “memory.” The first time you burn a candle sets the stage for how it will melt in the future. This is known as wax memory—and it’s the key to preventing tunneling and getting an even burn.
When you light a new candle, let it burn long enough for the melted wax to reach all the way to the edges of the container. This usually takes 2 to 4 hours, depending on the candle’s size. If you blow it out too soon, the wax will only melt in that small area the next time you light it, causing a tunnel to form in the center.
Tunneling not only wastes wax but also shortens your candle’s lifespan. Taking the time to create a full wax pool during the first burn ensures a cleaner, longer-lasting candle every time. Long-burning candles are essential for power outages, providing extended illumination and safety. Trim the wick before lighting to guarantee the wax melts evenly.
The Importance of the First Burn
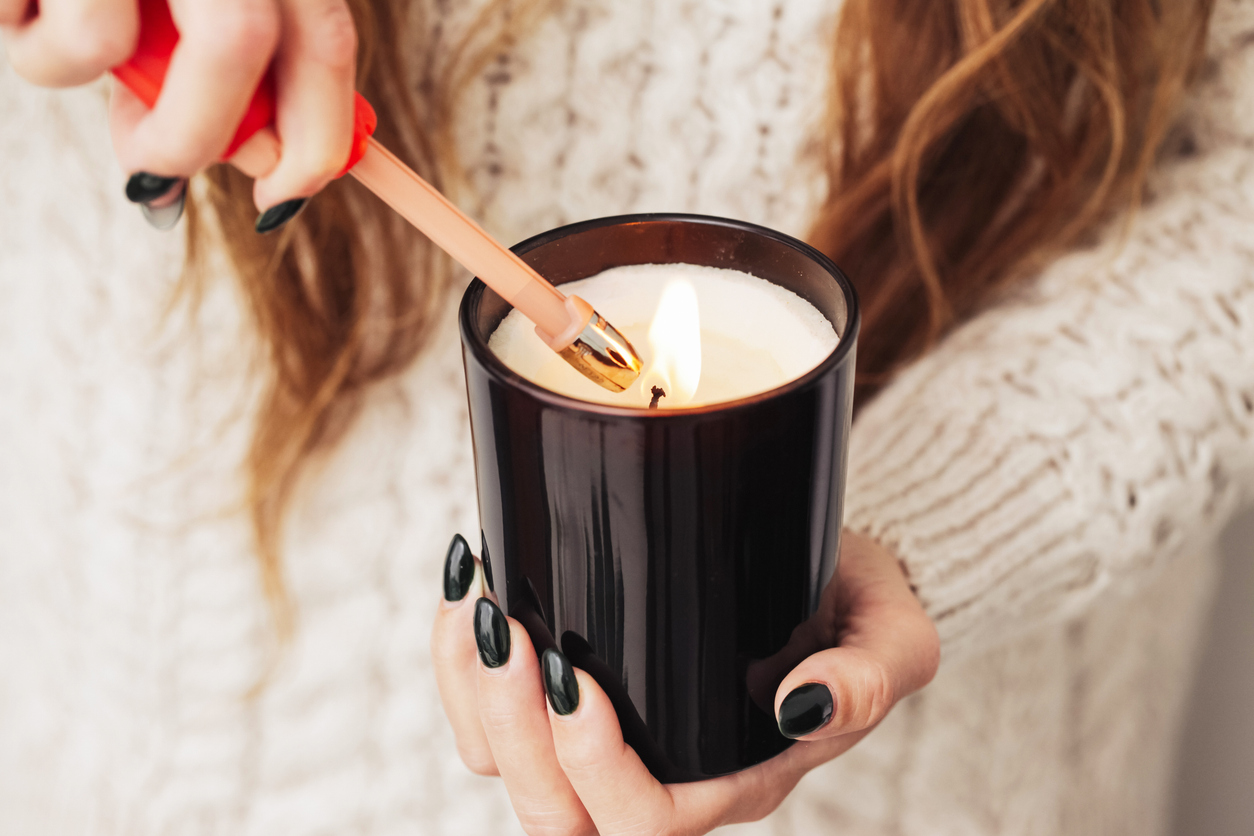
The first time you burn a candle is more important than it might seem. It sets the foundation for how your candle will perform over its entire life. During this initial burn, you're creating a wax memory—and getting it right helps prevent tunneling and wasted wax.
To do this, let the wax melt evenly across the entire surface, all the way to the edges of the container. This usually means burning the candle for about one hour per inch of diameter. For example, a 3-inch-wide candle should burn for at least 3 hours the first time.
A full, even wax pool not only prevents tunneling but also promotes a longer, more consistent burn every time you light the candle. When selecting candles for wilderness survival kits, it's important to consider burn time and wax type to ensure optimal performance in emergencies.
How to Trim Candle Wicks Properly

Once you've nailed the first burn, keeping your candle burning evenly comes down to one simple habit: trimming the wick.
Before each use, trim the wick to about ¼ inch (5 mm). This helps create a steady, clean flame while reducing smoke, soot, and the risk of uneven burning. A wick that’s too long can cause flickering, mushrooming, or even excessive heat—all of which waste wax and shorten your candle’s life.
Use sharp scissors or wick trimmers to make a clean cut. Avoid leaving debris in the wax, as it can interfere with the flame.
A few more quick tips:
Never trim too short, or the wick may struggle to stay lit.
Always place your candle on a fire-resistant surface like ceramic, stone, or metal.
Keep the wick at a consistent length throughout the candle’s life to ensure safe and even performance.
A little wick maintenance goes a long way in getting the most out of every candle.
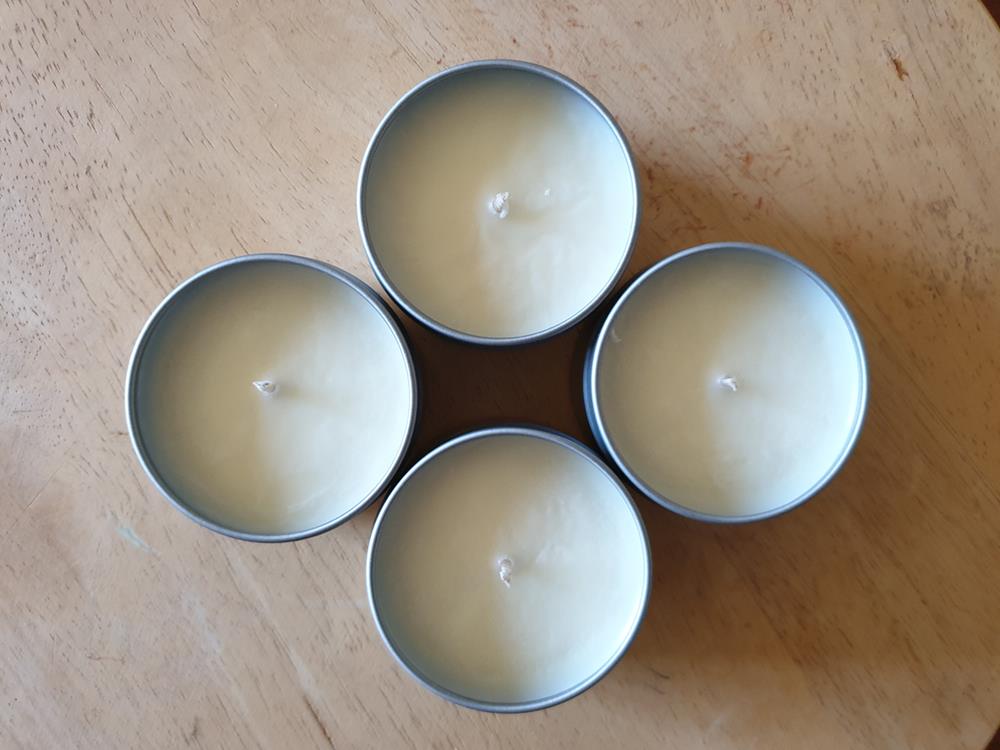
Choosing the Right Candle Wick Size

The size of your candle’s wick plays a major role in how well it burns. A wick that’s too small won’t produce enough heat to melt the wax evenly, leading to tunneling. On the other hand, a wick that’s too large can cause the flame to burn too hot, leading to wasted wax, soot, or even safety concerns.
To get it right, match the wick size to the diameter of your candle. A general rule of thumb is:
One wick per 3 inches of candle diameter
Use multiple wicks for larger candles to ensure even heat distribution
Wick type also matters. Cotton and wooden wicks burn differently—each impacts the size of the flame, the rate of burn, and the depth of the melt pool. That’s why testing is key, especially during candle making.
Experimenting with different wick sizes and types ensures optimal performance, a consistent melt pool, and a smooth, even burn every time you light your candle.
Keeping Candles Away From Drafts

If you want your candle to burn evenly, one of the most important things to watch out for is airflow. Drafts from windows, vents, fans, or even open doors can cause the flame to flicker, which leads to uneven wax melting and tunneling.
To avoid this:
Keep candles away from air vents, windows, and fans
Place them on flat, level surfaces to prevent wax from pooling unevenly
Avoid areas with frequent foot traffic, where airflow might shift unexpectedly
Even light, constant drafts can push the heat to one side of the candle, causing wax to melt unevenly and forming a tunnel around the wick. Over time, this not only wastes wax but also shortens the life of your candle.
Creating a calm, draft-free environment helps your candle burn smoothly and evenly from start to finish.
Ensuring a Level Surface for Burning

One of the simplest ways to help your candle burn evenly is by placing it on a flat, stable surface. A tilted candle can cause the wax to pool unevenly, leading to tunneling, wasted wax, and a shorter burn time.
Here’s how to keep things level:
Use coasters, trays, or candle holders to ensure the base stays flat.
Before lighting, do a quick check to make sure the surface isn’t slanted or unstable.
Avoid placing candles on soft or uneven areas like beds, couches, or rugs, which can cause them to tip or burn improperly.
If you move your candle between rooms, recheck the surface each time to make sure it’s still level.
Keeping your candle on a steady surface supports a consistent melt pool and a cleaner, more efficient burn.
Techniques to Fix Existing Candle Tunneling
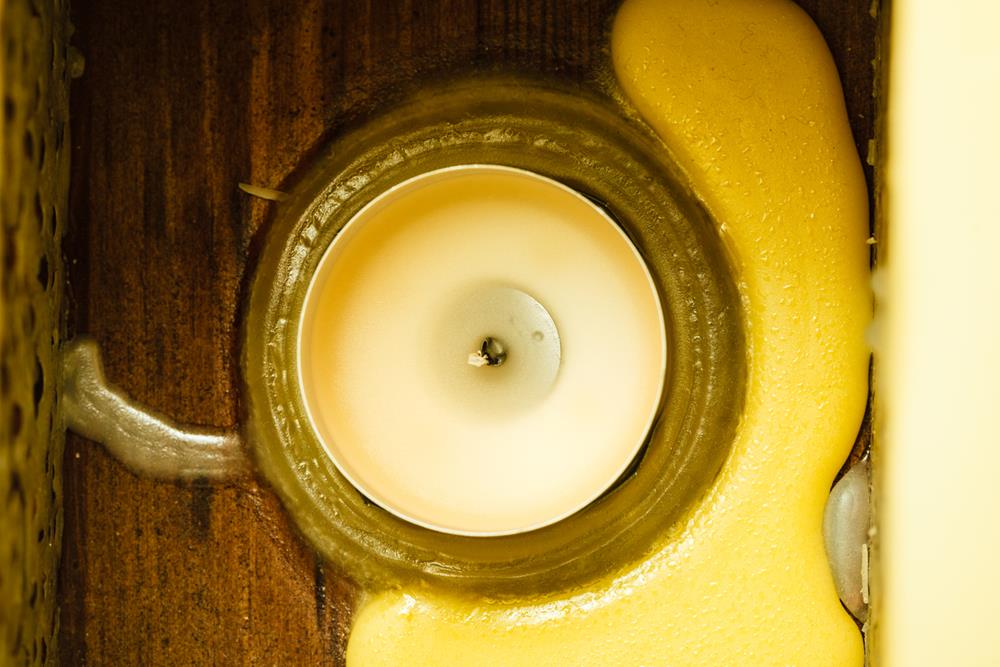
If your candle has started to tunnel, don’t worry—it’s a common issue and there are simple ways to correct it.
1. Hair Dryer Method
Use a hair dryer on low heat to gently melt the top layer of wax, focusing on the uneven edges. This helps level the surface and resets the candle’s “wax memory.” Let it cool evenly before relighting.
2. Aluminum Foil Method
Wrap a ring of foil around the top of the candle, leaving an opening above the wick. This traps heat and encourages the wax around the edges to melt evenly. Burn the candle for at least 1–2 hours while using this method, then remove the foil.
3. Scoop & Reset
For minor tunneling, scoop out some of the excess wax around the wick using a spoon. This exposes more of the wick and allows the flame to burn hotter and more evenly going forward.
Pro Tips:
Trim the wick to ¼ inch before each burn to avoid excess smoke and uneven flames.
Burn the candle long enough—about one hour per inch of diameter—to allow the wax pool to reach the edges.
With a little care and a few simple fixes, you can restore your candle and enjoy a smooth, even burn every time.
Best Practices for Candle Storage
After learning how to fix candle tunneling, it’s just as important to store your candles properly to protect their quality and performance.
Keep candles in a cool, dry place away from direct sunlight and heat sources. This prevents melting, discoloration, and scent breakdown.
Store them upright on a flat, stable surface to avoid warping or uneven melting.
Cover candles with a dust bag, box, or lid to keep them clean and free from dust or debris, which can affect how they burn.
Avoid temperature swings. Consistent temperatures help prevent the wax from becoming too soft or brittle over time.
Keep away from strong odors. Candles can absorb surrounding scents, which may alter their fragrance when burned.
With the right storage conditions, your candles will stay in great shape—ready to burn evenly and smell just as good as the day you bought them.
Regular Maintenance for Optimal Candle Performance
To get the most out of your candles, a little regular care goes a long way. Proper maintenance not only extends their life but also ensures a smooth, even burn every time.
Trim the wick to ¼ inch before each use. This helps prevent large, flickering flames, reduces soot, and promotes even wax melting.
Burn the candle long enough to let the wax pool reach the edges of the container—about one hour per inch of diameter. This helps establish a strong wax memory and prevents tunneling.
Keep candles away from drafts, such as open windows or vents, to avoid uneven flames and wax displacement.
Use a level surface, like a coaster or tray, to make sure your candle burns evenly and doesn’t tilt or drip.
By following these simple steps, you’ll improve burn quality, reduce waste, and enjoy a better candle experience overall.