Fix Candle Tunneling Fast: Easy Solutions That Work
There’s nothing more frustrating than lighting a new candle—only to watch it burn unevenly down the middle, leaving wasted wax along the edges. This common issue is known as candle tunneling, and it can shorten your candle’s life while ruining its cozy glow.
The good news? You don’t have to toss a tunneled candle. With a few simple tricks, you can restore an even burn and get the most out of your favorite scents. Whether you're dealing with a slightly sunken wick or a deep wax crater, these quick, effective fixes will have your candle looking and performing like new in no time.
Understanding Candle Tunneling
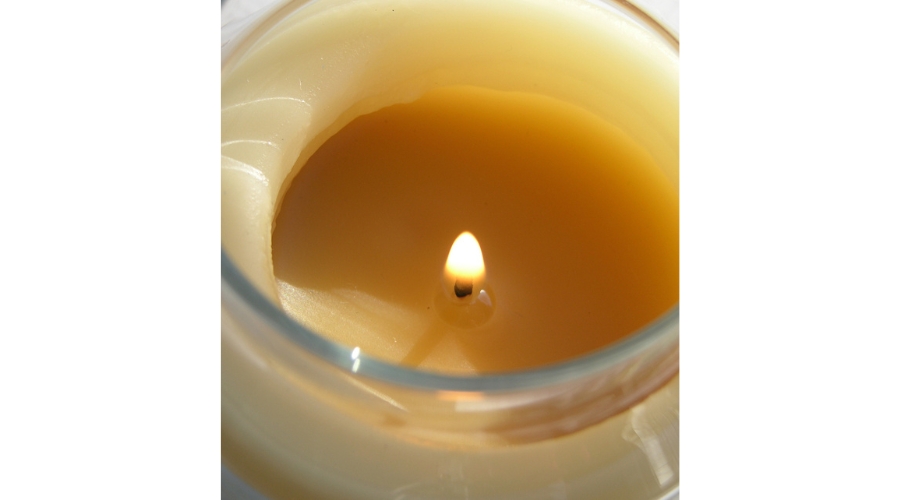
Candle tunneling happens when only a small area of wax melts around the wick, leaving a ring of unused wax along the edges. Not only does this waste wax, but it also reduces the candle’s overall burn time—something no candle lover wants.
To avoid tunneling, pay close attention to the first burn. Let the candle burn long enough (usually 1 to 4 hours) for the entire top layer of wax to melt evenly. This sets a "wax memory" that promotes even burning in future uses.
Always trim the wick to about ¼ inch before lighting. A properly trimmed wick helps the flame burn steadily and evenly. Also, keep your candle away from drafts—even a small breeze can cause the flame to flicker, leading to uneven melting.
While candles are known for their cozy ambiance, they also serve practical purposes in emergencies—offering light, warmth, and even limited cooking capability when needed. So taking care of your candles means you’re not just preserving aesthetics, but also enhancing utility.
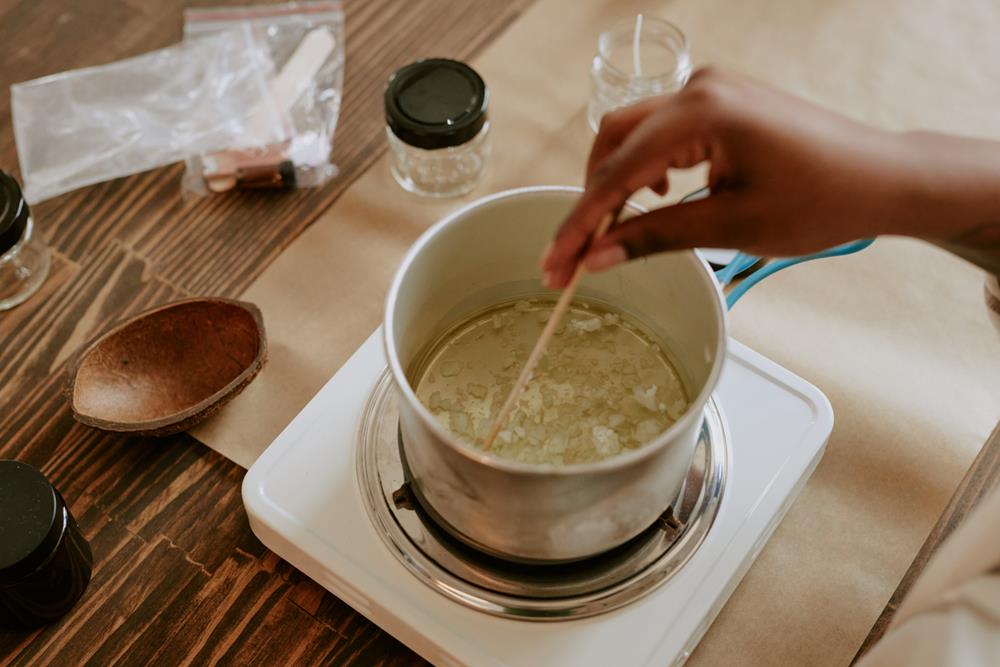
The Aluminum Foil Method
Now that you know how to prevent candle tunneling, let’s look at one of the most effective ways to fix it when it does happen: the aluminum foil method.
This simple technique helps redistribute heat, melting the stubborn wax along the edges and restoring an even surface. Here’s how to do it:
Wrap the candle’s top with aluminum foil, leaving a hole in the center for the flame to breathe. Make sure the foil doesn’t touch the flame directly.
Burn the candle for 1–2 hours, allowing the redirected heat to melt the top layer evenly all the way to the edges.
Ensure proper airflow by keeping the center open. This keeps the flame steady and safe.
Secure the foil so it stays in place without sagging or tipping.
This trick works especially well on large or long-burning candles, such as the 100hr Emergency Soft Light® Liquid Wax Candle, which are ideal for emergencies thanks to their extended burn time.
With a little foil and patience, you can rescue a tunneled candle and enjoy a smooth, even burn again.
The Hair Dryer Technique

If you spot tunneling in your candle, the hair dryer method is a quick and easy way to reset the wax surface.
Start by blowing out the flame and letting the candle cool slightly. Then, using a hair dryer on a low heat setting, gently warm the top of the candle, focusing on the uneven wax around the edges. Hold the dryer at a safe distance to prevent splashing or overheating, and move it in slow, circular motions for even melting.
This process softens and levels the wax, essentially erasing the candle’s “memory” and prepping it for a more even burn next time. Once the wax has fully melted across the surface, allow the candle to burn for at least an hour to set a new, smooth wax memory.
A few tips:
Monitor the process closely to avoid overheating.
Never allow the hair dryer to touch the candle or wax.
For an even cleaner burn in the future, consider switching to beeswax candles, which are known for minimal soot and excellent performance.
This technique takes just a few minutes and can save your favorite candle from early retirement.
Removing Excess Wax
One effective way to tackle candle tunneling is by removing excess wax. Use a butter knife to gently scrape away wax along the edges, exposing about ¼-inch of the wick for better burning. This careful approach avoids damaging the wick or candle container while enhancing burning efficiency.
By removing excess wax, you eliminate the "drowning" effect, allowing the wick to stay lit and reducing further tunneling. Furthermore, this method provides an immediate fix, enabling the candle to melt the entire surface evenly and prolonging its lifespan.
Remember to dispose of the removed wax properly to avoid clogging drains.
- Exposing the wick: Guarantees better combustion.
- Avoiding damage: Protects the candle container.
- Immediate fix: Achieves even burning.
- Prolongs lifespan: Extends candle enjoyment.
Preventing Candle Tunneling: Key Tips

Once you've tackled any excess wax buildup, it's just as important to prevent tunneling before it starts.
For the first burn, allow your candle to burn long enough—at least 1 to 4 hours—so the entire top layer of wax melts evenly. This sets the “memory” of the candle and encourages an even melt during future burns.
Keep your candle away from drafts, as airflow can cause the flame to flicker and lead to uneven melting.
If tunneling does begin, try the aluminum foil method: wrap foil around the top of the candle (without covering the flame) to reflect heat and help the wax melt out to the edges.
Multi-wick candles are another great option for avoiding tunneling altogether, as they distribute heat more evenly across the surface.
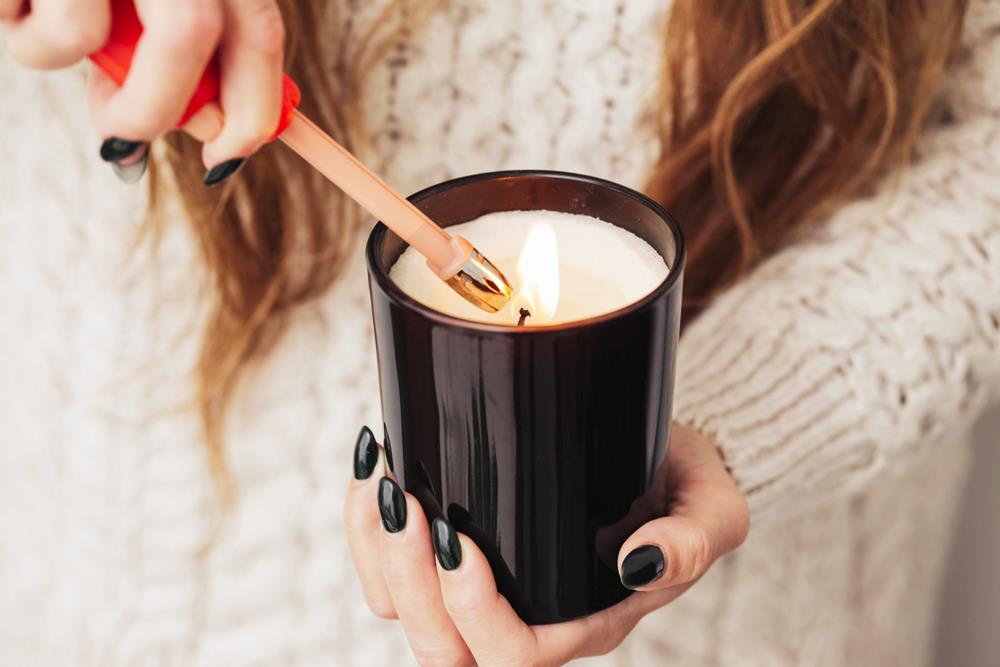
Lastly, always trim the wick to about ¼ inch before each use. This promotes a steady flame and helps ensure your candle burns cleanly and evenly every time.
Importance of Proper Wick Trimming
Though often overlooked, proper wick trimming is crucial for a peak candle experience. By trimming the wick to 1/4 to 1/8 inch before each burn, you guarantee a cleaner and more efficient burn. This practice reduces soot and prevents tunneling, allowing the wax to melt evenly.
A properly trimmed wick keeps the flame at an ideal height, preventing it from "drowning" in wax and maintaining a steady burn.
Consider these benefits:
- Even Wax Melt: Guarantees the wax pool is wide and consistent.
- Stable Flame: Reduces flickering, providing a safer and more enjoyable ambiance.
- Reduced Soot: Keeps your candles looking pristine and your air cleaner.
- Improved Scent Throw: Keeps charred debris out of melted wax, preserving the candle's fragrance.
Proper trimming improves your candle experience greatly.
Avoiding Drafty Areas
To prevent candle tunneling, it's essential to avoid placing them in drafty areas. Drafts from windows or vents can make your candle's flame flicker, preventing the wax from melting evenly. This results in a pesky buildup of unmelted wax along the edge.
When you light a candle, make sure it's in a calm, still air environment to promote a steady burn. Avoid placing it in rooms with fans or air conditioning, as these can disrupt the flame's stability and cause tunneling.
If you're struggling with drafts, consider wrapping aluminum foil around the candle's top edge. This creates a barrier, allowing the wax to melt evenly. Keeping your candle away from breezy spots will help maintain its perfect burn.
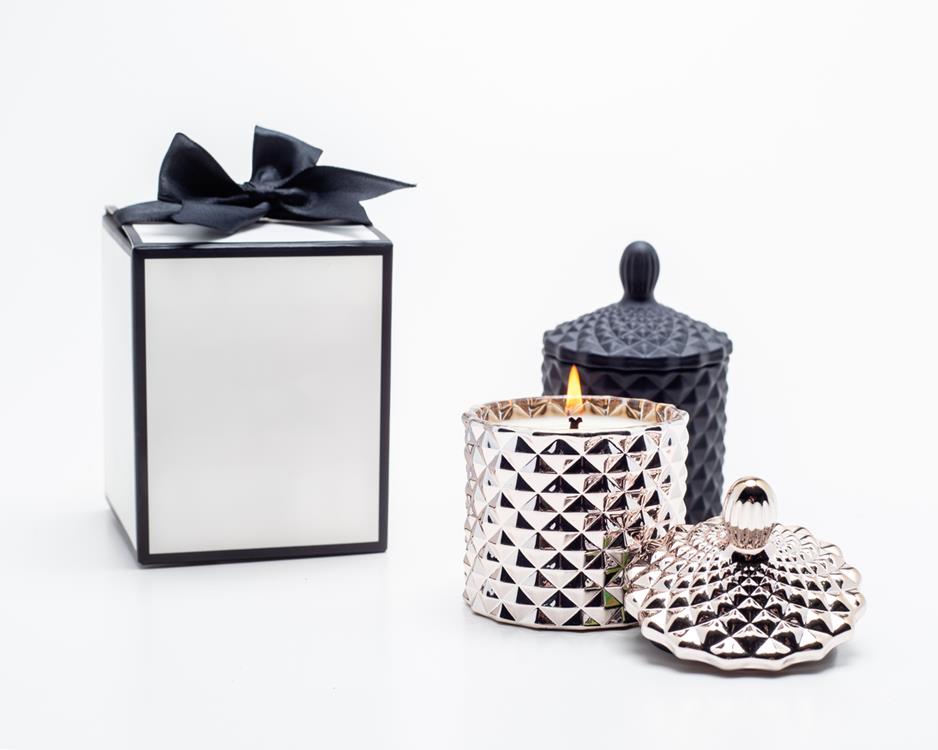
Using Candle Toppers for Even Burning
If you're looking to further improve your candle's burn quality beyond avoiding drafty areas, consider using candle toppers for even burning.
These decorative metal lids trap heat and shield the flame from drafts, promoting an even burn and preventing tunneling. They're especially effective for larger, single-wick candles, helping maintain a consistent temperature for an efficient burn.
Not only do candle toppers elevate the aesthetic appeal of your setup, but they also extend the candle's life by reducing the occurrence of tunneling.
Here’s why you should consider them:
- Efficient Heat Retention: Traps heat to guarantee a more consistent burn.
- Aesthetic Variety: Available in different designs, adding charm.
- Draft Protection: Shields the flame, minimizing airflow disruptions.
- Longevity: Extends burn time by maintaining uniform temperature.
Exploring Multi-Wick Candle Options
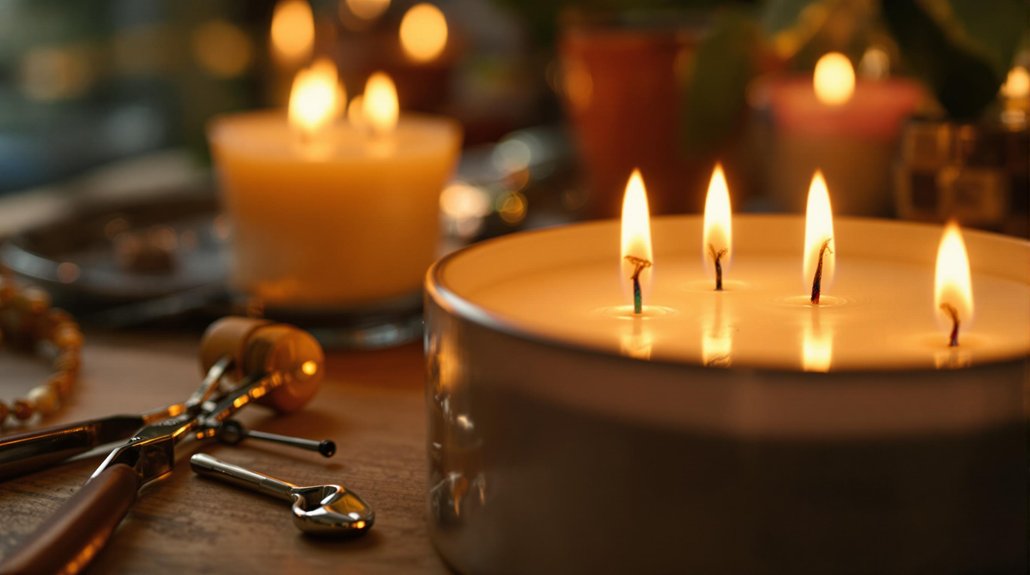
When you're aiming for an even burn and a delightful ambiance, exploring multi-wick candle options can be a game changer.
Multi-wick candles, with their two or more wicks, create a broader melt pool, ensuring even wax distribution and minimizing tunneling. The extra wicks generate more heat, melting the wax evenly across the surface. This feature is particularly useful in drafty spaces where uneven burning often occurs.
Often housed in larger vessels, these candles offer extended burn time and a superior scent throw, filling your room with a luxurious fragrance. Brands recommend them for a consistent sensory experience, making them ideal for special occasions and home decor.
Choosing multi-wick candles can transform your candle-burning rituals into a more pleasurable experience.