DIY Emergency Lighting: Tips and Tricks for Homeowners

When the power goes out, having a reliable source of emergency lighting is crucial. You can create effective lighting solutions using common household items.
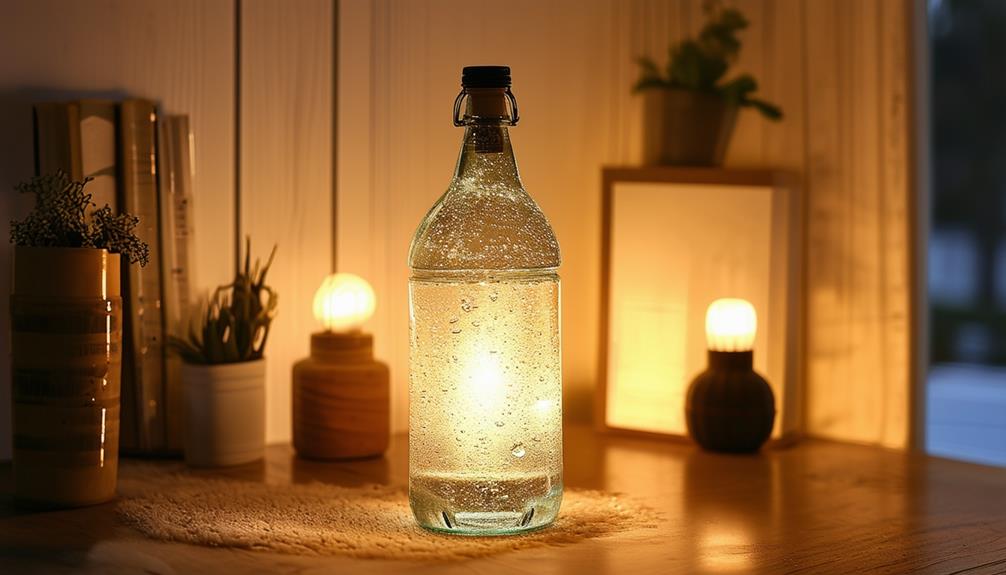
For instance, you can use plastic bottles filled with water to make a DIY tent lamp that provides a soft, ambient glow, suitable for any room. This is just one of many creative ways to ensure your home remains well-lit during an outage.
Regular testing and maintenance are essential to keep your DIY lighting functional when you need it most. So, how can you create these practical and unique lighting solutions?
Materials for DIY Tent Lamp
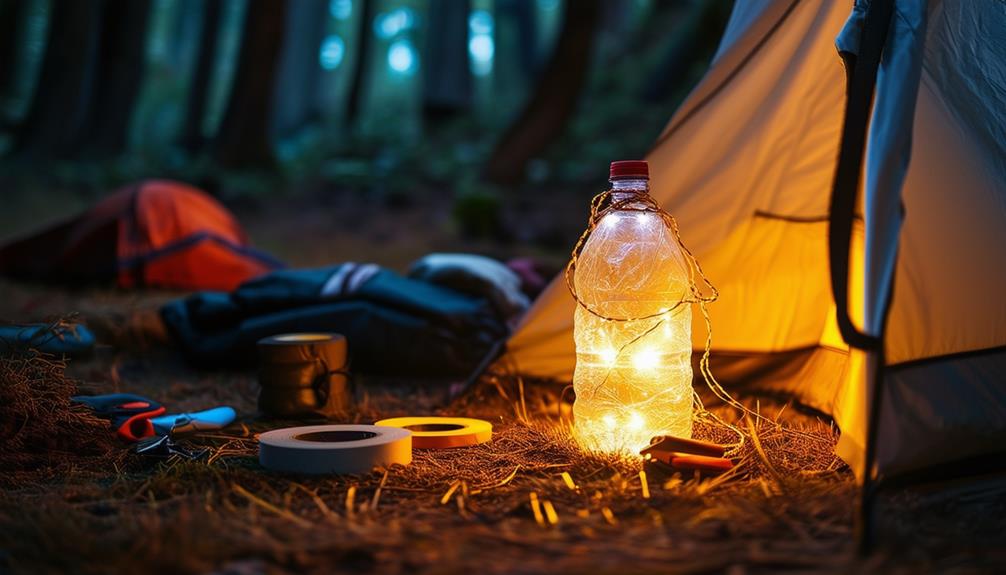
Creating a DIY tent lamp requires just a few straightforward materials, such as plastic water bottles, glass bottles, and airtight storage containers. These items are incredibly beneficial during power outages. Plastic water bottles and soda bottles are excellent choices because they're lightweight and easy to find. Glass bottles, although slightly heavier, can add a unique aesthetic to your lamp.
Larger containers like plastic milk jugs offer stability and portability. They can hold more water, which is essential for effective light diffusion. Adding a small amount of bleach to the water can enhance light diffusion, making your DIY lamp even brighter. Airtight storage containers and mixer pitchers are other excellent options that can be repurposed for this project.
Experimenting with different containers can lead to creative lighting solutions. For instance, try using a 2-liter bottle or even a five-gallon water jug. Adding GlowSticks can provide extra brightness. This variety allows you to personalize your lamp based on your specific needs and available materials.
Steps for Making Tent Lamp
To create your DIY tent lamp, gather the following materials:
A plastic bottle or jug, water, a small amount of bleach, and a headlamp or flashlight. First, fill the container with water and add a few drops of bleach to enhance light diffusion. Then, securely attach the headlamp or flashlight around the bottle. This simple method provides an effective lighting solution for your tent.
Materials Needed
For your DIY tent lamp, you'll need a few key materials that will help create a stable and effective light source by diffusing the light through water. To get started, gather the following items:
- Plastic water bottles: Lightweight and easy to handle, ideal for portability.
- Glass containers: Robust and durable, perfect for long-term use.
- Storage jars: Versatile, sealable, and easy to carry.
- Bleach: Just a drop to keep the water clear and prevent algae growth.
You'll also need a light source, such as a small LED or GlowStick. The water in the container will diffract and diffuse the light, creating an even glow ideal for emergency situations. Larger containers can offer better stability and more light diffusion, making them excellent for illuminating bigger spaces.
Assembly Process
Starting the assembly process is straightforward and involves only a few steps to create an effective DIY tent lamp. Begin by filling a plastic bottle or jug with water. For improved light diffusion, add a few drops of bleach. This helps create a more uniform glow, essential for emergency lighting.
Next, securely attach a headlamp or flashlight around the container, ensuring the light source is aimed upwards. This direction allows the light to spread more evenly, mimicking a traditional lamp and providing better overall illumination. If using a larger container, like a plastic milk jug, it offers more stability and portability, which is crucial during emergencies.
For a different effect, you can experiment with a 2-liter bottle and a GlowStick. This combination works well as a night light, providing a softer glow that can be particularly comforting in a tent or small room.
Benefits of Water in Lamps
Using water in DIY lamps enhances light diffusion, creating a softer and more ambient glow. This feature is particularly useful during emergencies when makeshift lighting solutions are needed. Water's ability to diffract and diffuse light can significantly improve the brightness and functionality of your DIY lamp.
When you use water-filled containers like plastic milk jugs or bottles, you gain several advantages:
- Improved Light Diffusion: Water effectively breaks up light, creating a uniform glow that's easy on the eyes.
- Stability and Portability: Larger containers, such as plastic milk jugs, provide a stable and portable base for emergency lighting.
- Magnification Effect: A plastic bottle or jug filled with water can mimic traditional lighting solutions that magnify light, offering better illumination.
- Versatility in Design: Experimenting with different containers, like using a 2-liter bottle with a GlowStick, can create unique night light effects, adding both functionality and aesthetics.
Adding a small amount of bleach to the water can further enhance light diffusion, making your DIY lamp even more effective. This simple trick can make a significant impact in situations where reliable and consistent lighting is essential.
Innovative Lighting Solutions
Experiment with various containers like a five-gallon water jug or a SuperPail to create unique DIY lighting solutions. Enhance light efficiency by placing a small mirror behind your lamp. For a soft glow, use a glow stick inside a 2-liter bottle. To improve focus, place a glow stick in a smaller bottle.
Experimenting With Containers
Experiment with various containers like a five-gallon water jug or SuperPail to create unique and efficient DIY lighting solutions. For a quick emergency light, place a flashlight inside a SuperPail. This simple trick can generate broad, diffused light ideal for power outages.
Here are some interesting container ideas to try:
- Five-Gallon Jug: Fill it with water and place a flashlight below. The water will scatter the light, creating a soft glow.
- SuperPail: Use it without water and place a flashlight inside for an effective, wide light source.
- 2-Liter Bottle: Insert a GlowStick into an empty bottle for a makeshift lantern.
- Small Mirror: Add a small mirror behind your light source to direct and improve the light.
Maximizing Light Diffusion
Building on your container experiments, let's explore how to maximize light scattering for more efficient DIY emergency lighting solutions.
- Five-Gallon Water Storage Jug: Start by placing a flashlight inside a five-gallon water storage jug. Observe how the light scatters through the translucent material, creating a soft glow that can fill a room. This method works well because the material disperses the light effectively, enhancing overall light diffusion.
- SuperPail: Another creative technique involves using a SuperPail. Insert a flashlight without adding any water. The opaque sides reflect the light internally, helping to spread it more evenly. This setup can act as a makeshift lantern with excellent light scattering properties.
- 2-Liter Bottle with GlowStick: For a focused yet scattered light source, try placing a GlowStick inside a 2-liter bottle. The shape and material of the bottle help to scatter the light, making it an effective night light. To further optimize this setup, add a small mirror behind the bottle. The mirror will reflect the light, amplifying overall luminosity and scattering.
- Concentrated Point Light Source: Lastly, use a GlowStick in a smaller bottle to create a concentrated point light source. This method provides both focused and scattered lighting, making it versatile for different emergency situations.
DIY Fixes for Light Issues
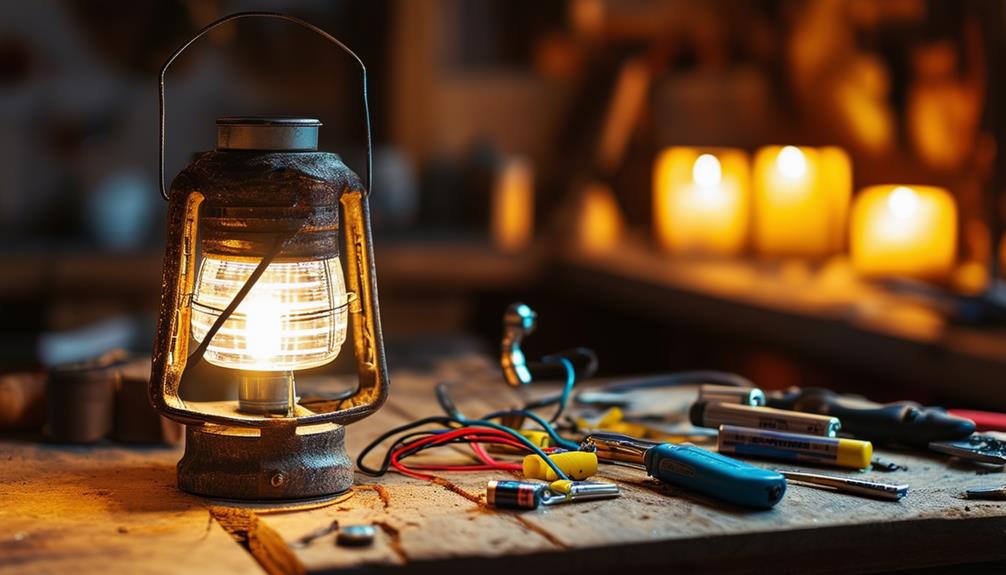
Many DIY solutions for light issues can save time and money, but they require the right tools and a focus on safety. Whether you're dealing with a power outage or a flickering light, having a basic toolkit is crucial.
Consider these essential tools and safety equipment for your DIY projects:
- Multimeters: For checking electrical continuity and voltage.
- Screwdrivers and wire strippers: For accessing and repairing components.
- Contact cleaner: To eliminate dust and grime from electrical contacts.
- Safety glasses and insulated gloves: For personal protection.
If your lights aren't working, start with the simplest solutions. Replace depleted batteries in emergency lights or inspect the wiring for any obvious issues. Flickering lights might just need a new bulb or a secured connection. If an LED light isn't operational, consider replacing the LED driver, ensuring it's the correct type for your fixture.
For emergency exit signs, examine the internal wiring and replace any defective components. Always ensure the power is off before starting any repairs to prevent accidents. With the right approach, you can manage many light problems yourself, keeping your home safe and well-lit.
Testing and Maintenance
Now that you've tackled some common DIY fixes, let's focus on the regular testing and maintenance needed to keep your emergency lighting systems in optimal condition. Regular testing involves monthly functionality tests and an annual full-duration test. These checks ensure that your lights are operational and ready when needed most.
Establishing a maintenance schedule is essential. You'll want to check battery performance, identify operational issues, and ensure compliance with regulations. For instance, a light bulb that flickers or fails to turn on during a test might indicate a failing battery or a faulty LED driver. Addressing these issues promptly can save you from complications during an actual emergency.
Here's a simple maintenance schedule to follow:
| Task | Frequency |
|---|---|
| Functionality Test | Monthly |
| Full-Duration Test | Annually |
| Battery Check | Quarterly |
Testing and maintenance are crucial for catching potential problems early. If you encounter complex issues, such as intricate electrical repairs or system upgrades, know when it's time to call in a professional. This ensures your emergency lighting remains reliable and compliant.
Conclusion
You now have all the tools and tips you need to create reliable DIY emergency lighting solutions. Using simple materials like plastic bottles and water, you can craft effective tent lamps that emit a soft, dependable glow.
Experiment with different containers and light sources, promptly address any issues, and adhere to a regular maintenance schedule. By following these steps, you can ensure your home is always prepared for any emergency lighting needs. Happy crafting!