Survival Hacks: Using Candles for Heat and Light
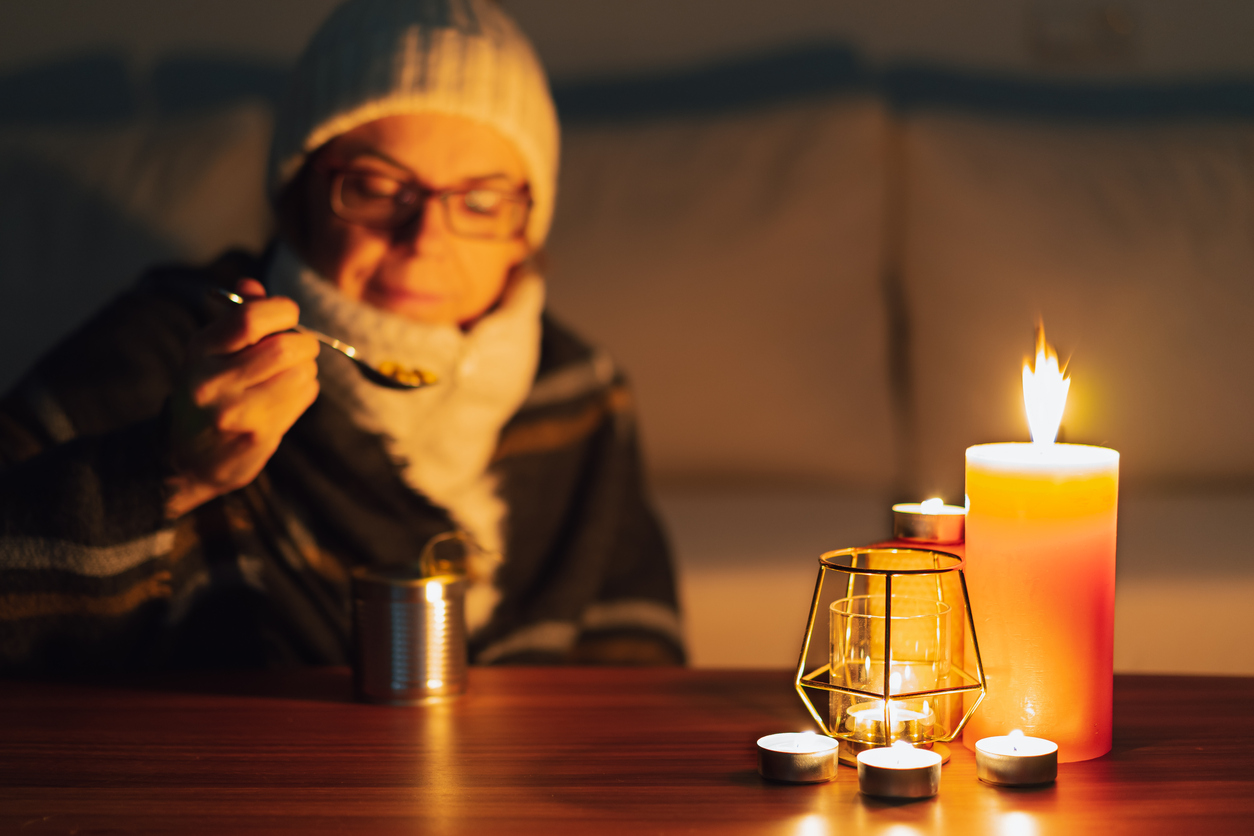
Imagine the flickering light of a candle casting a warm glow around a dimly lit room, its flame a beacon of reliability in a world of uncertainty. You've likely used candles to set the mood for a cozy evening or to celebrate another year on a birthday cake, but their potential in survival situations is often overlooked.
Candles, especially when paired with ingenious hacks like using shortening or optimizing placement, can become indispensable tools for both warmth and illumination. Whether you're weathering a storm at home, camping in the backcountry, or ensuring your emergency kit is well-stocked, understanding how to maximize the heat and light from candles can be a game-changer.
Let's explore how these simple items can provide comfort and safety when you need it most, with insights on choosing the right candles, DIY heaters, and essential safety tips. Stay with me, and you'll discover how to turn ordinary candles into extraordinary survival resources.
Key Takeaways
- Candle power is important in determining the amount of light emitted by a candle and can help determine how many candles are needed for a room.
- Choosing the right candles involves finding a balance between light and heat.
- CRISCO candles are a cost-effective and eco-friendly alternative to traditional candles, and can be enhanced by lighting them with tapered candles.
- Maximizing heat output can be achieved by using pavers under candle heaters, burning multiple candles at once, and using smaller containers to trap more heat. Safe candle placement is also crucial, keeping candles out of reach of children and pets and away from flammable materials.
Understanding Candle Power
To fully grasp the effectiveness of candles in heating and lighting your space, it's crucial to understand candle power. This measure tells you how much light a candle emits, making it easier to figure out how many you'll need to light up a room or provide safe heat. Think of candle power as a guide to selecting the right candles for your needs.
Different candles offer different levels of light and warmth. By understanding candle power, you can choose the ones that give off just enough light without wasting resources or risking safety. It's all about finding that sweet spot where you get as much light and safe heat as you need without going overboard.
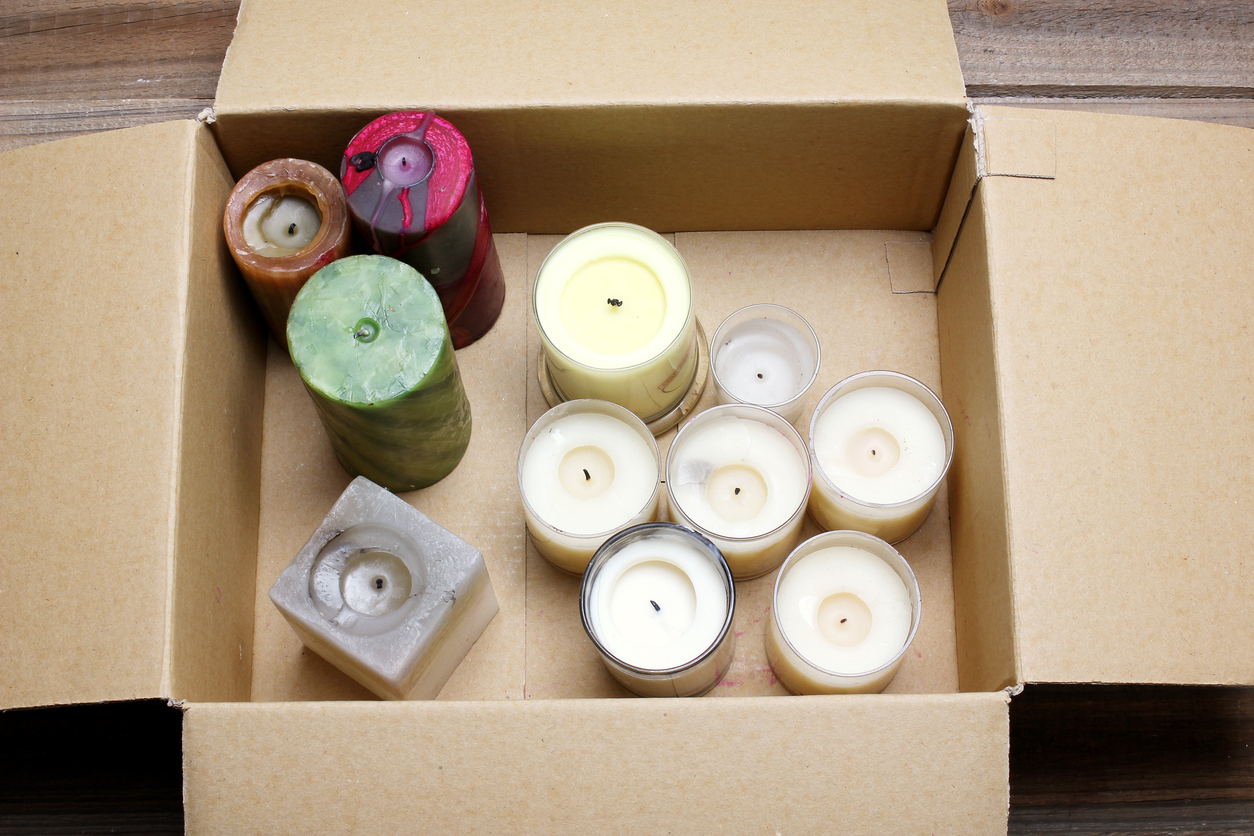
Choosing the Right Candles
When choosing candles for heat and light, it's essential to weigh your options carefully to find the most effective and safe solution for your needs.
If you're looking for a cost-effective alternative, consider using shortening, such as CRISCO, to create candles. This method isn't only budget-friendly but also a safe and long-lasting source of heat, especially useful in confined spaces like cars or SUVs.
To maximize the efficiency of your CRISCO candle, you can light it using tapered candles. Incorporating multiple candles can further enhance the heat and light output, making your space cozier and brighter. One significant advantage of using CRISCO candles is their ability to significantly reduce propane consumption for heating, making them an eco-friendly and economical choice.
Additionally, it's vital to use candles in their original packaging whenever possible. This practice not only ensures safety but also enhances the longevity of the candle. Remember to trim the wick regularly to maintain an optimal flame and prevent soot buildup.
Maximizing Heat Output
Maximizing the heat output of your candles, especially in chilly conditions, hinges on understanding and applying a few key strategies effectively. First, placing pavers under your candle heater not only allows air to flow but also prevents the flame from going out. This simple setup can significantly increase the heat output. If you're aiming for more warmth and light, consider burning three candles instead of one. Though this will reduce their running time, the boost in heat output is worth it.
When it comes to trapping more heat, using smaller containers can be surprisingly effective. If you place a larger container over the smaller one, you'll trap even more heat, pushing the warmth right where you need it. For a long-lasting and cost-effective solution, burning one CRISCO candle for 81 hours can save you money compared to propane options.
And if you're in a smaller space like a car, SUV, or minivan, using two CRISCO candles with three wicks each can easily provide the warmth you need.
Safe Candle Placement
Ensure you place candles on stable, heat-resistant surfaces to minimize fire risks. When using candles for heat and light, especially in survival situations, safe candle placement is crucial to prevent accidents and maintain a safe environment. Remember, the goal is to utilize the benefits of candles without putting yourself or your surroundings in danger.
Here are some key points to consider for safe candle placement:
- Keep candles out of reach of children and pets to prevent accidents. Curious hands and paws can easily tip them over or get hurt.
- Avoid placing candles in drafty areas as it can lead to uneven burning, quicker depletion, and potential hazards.
- Place candles at a safe distance from curtains, furniture, and other home decor to prevent fire hazards. It's easy to overlook how quickly a flame can catch onto flammable materials.
Always extinguish candles before leaving a room or going to bed. Neglecting to do so is a common oversight that can lead to devastating consequences.
DIY Candle Heaters
DIY candle heaters, crafted from everyday items like shortening, can significantly boost warmth in confined spaces. Using shortening as a cost-effective alternative, you'll find that you don't always need expensive candles for heat and light. By melting shortening into a container and lighting it with tapered candles instead, you're creating a sustainable source of warmth that can raise the temperature in small spaces, like cars or SUVs, by 20-30 degrees.
Here's a quick guide to get you started:
| Material | Purpose |
|---|---|
| Shortening | Cost-effective fuel source for heat and light |
| Tapered Candles | Used to light the shortening |
| Container | Holds the melted shortening |
| Pavers | Allows airflow under the heater for efficient burning |
You'll require two critical components: tapered candles to initiate the burn and a container to hold your shortening. Placing your DIY heater over pavers not only enhances safety but also ensures airflow, making the burning process more efficient. Opting for CRISCO candles instead of propane heating can save money and still heat small spaces effectively.
Enhancing Light Reflection
After exploring how to create a cost-effective heater using candles and shortening, let's now focus on how you can amplify the light it provides by enhancing light reflection. It's a great idea to make the most out of the limited light source in emergency situations or during power outages. Enhancing light reflection not only maximizes the light output but also contributes to a brighter and more welcoming space.
To enhance light reflection effectively, consider these strategies:
- Utilize Mirrors or Reflective Surfaces: Placing mirrors or any reflective surfaces around the candle heater can significantly increase the light dispersion throughout the room.
- Employ Aluminum Foil or Reflective Blankets: Wrapping aluminum foil or a reflective emergency blanket around the candle can focus and amplify the light in your desired direction. This is particularly useful for directing light towards a specific task area.
- Optimize Placement Near Light-Colored Walls: By placing the candle heater near light-colored or reflective walls, you can take advantage of the natural bouncing of light, which helps in illuminating a larger area.
Windproofing Your Candle
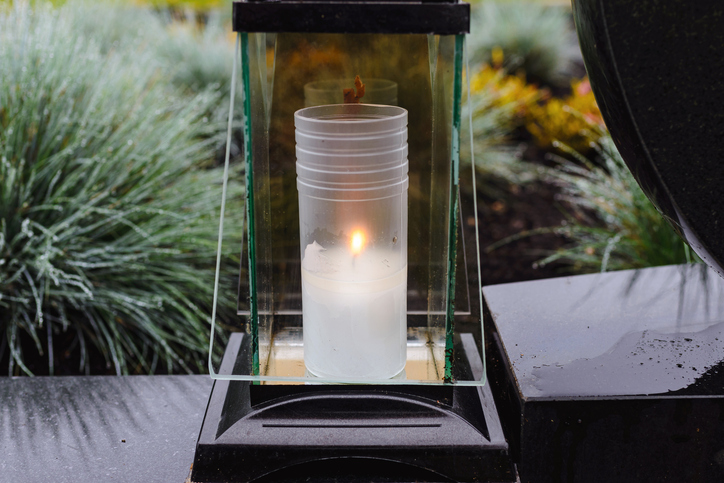
To protect your candle's flame from being extinguished by gusts, consider windproofing techniques such as using a glass jar or creating a barrier around it. Placing your candle inside a glass jar or lantern is one effective method. This setup shields the flame from unexpected gusts, ensuring it remains steady and bright. If you're looking for something a bit more makeshift, creating a windbreak with items like cardboard or aluminum foil can work well. These materials can be easily molded around the candle, forming a protective shield against the wind.
Another option is to use a metal or mesh candle holder. These holders not only provide a barrier against the wind but also allow air to circulate, keeping the flame alive. Positioning the candle in a sheltered area, like a corner or alcove, can also minimize wind impact.
For those who prefer a more elegant solution, a candle lantern with glass panels might be the way to go. These lanterns are designed to protect the flame from the wind while still illuminating your space.
Candle Maintenance Tips
Maintaining your candles involves simple yet crucial steps, such as trimming the wick to about 1/4 inch, to ensure they burn cleanly and efficiently. This not only prevents excessive flickering and soot buildup but also prolongs the life of your candle, making it last a long time.
I highly recommend following these additional tips to maximize the utility and lifespan of your candles:
- Store them in a cool, dry place away from direct sunlight to prevent melting or warping. This practice helps maintain their quality and ensures they're ready for use whenever needed.
- Cover candles with airtight containers when not in use to protect them from dust and maintain their freshness. This step is especially important for scented candles to preserve their fragrance.
- Avoid placing candles near drafts or vents. An even airflow ensures even burning, maximizing their heat and light output without wasting any part of the candle.
Regularly check your candles for any signs of damage, such as cracking or discoloration. Ensuring they're in good condition is essential for safe and effective use.
Emergency Candle Making
Having covered the essentials of candle maintenance, it's crucial to explore how you can craft your own emergency candles, particularly when conventional options aren't available. In emergency candle making, it's handy to know that shortening, a common pantry item, can be an effective and cost-efficient base for your DIY candles.
To start, you'll need to start to melt the shortening gently. This can be done in a small pot over low heat. Once it's liquefied, pour it into a container of your choice - anything from an old mug to a metal can works well.
The next step involves integrating a wick. If you have tapered candles, you can use one as a wick by placing it in the center of the shortening. As the shortening cools and solidifies, it will encase the taper candle, securing it in place.
These CRISCO candles aren't only economical but also incredibly effective. They can trap more heat, making them an excellent choice for heating small spaces like cars and SUVs. Moreover, they burn longer than many store-bought options, offering a sustainable supplement to propane heating while saving money in the process.
Extending Candle Life
Often, you'll find that a few simple tweaks can significantly extend the life of your candles, ensuring they last longer during emergencies. In the realm of survival hacks, knowing how to get the most out of your candles is invaluable. It's not just about having them; it's about maximizing their utility when you most need light and warmth.
Here are some proven strategies for extending candle life:
- Preparation Before Use: Storing your candles in a cool, dark place prevents them from melting and deforming, which can affect their burn time. Additionally, placing your candle in the freezer before lighting it can slow down the burning process, significantly extending its life.
- While Burning:
- Adding salt to the melted shortening around the wick can make the candle burn slower and longer. This little-known trick can be a game-changer in prolonging your candle's lifespan.
- Trimming the wick and keeping it short ensures a slower burn, reducing the rate at which your candle consumes its wax.
- Using aluminum foil as a reflector not only helps in maximizing light output but also contributes to an even burn, preventing tunneling and thereby extending the candle's useful life.
Conclusion
In conclusion, you've learned how to harness the power of candles for heat and light in survival situations. By choosing the right candles, maximizing their heat output, and placing them safely, you can keep yourself warm and illuminated. Remember, DIY candle heaters and windproofing techniques can further enhance their effectiveness. Always follow maintenance tips and know how to make emergency candles.
With these skills, you'll extend your candle life and ensure you're prepared for any situation. Stay safe and resourceful!