Interestingly, over 75% of outdoor enthusiasts report that they’ve experienced issues with their lanterns while off the grid, underscoring the importance of maintenance and repair skills post-SHTF.
As you prepare for the unpredictable, knowing how to keep your lantern in top condition isn’t just about convenience; it’s a safety imperative. From preventing rust to unclogging burners, your ability to maintain and repair these vital light sources can significantly impact your comfort and survival in a post-SHTF scenario.
Whether you’ve just discovered an old lantern in need of some TLC or you’re looking to optimize the performance of your current gear, a few key techniques can make all the difference. Stay with us as we explore essential tips and tricks that’ll ensure your lanterns are ready to light up the darkness when you need them most, and perhaps, discover a few DIY repair techniques that could save you in a pinch.
Key Takeaways
- Understand the different types of lanterns and choose one that suits your specific needs.
- Regularly maintain your lantern by checking and replacing mantles, cleaning the glass globe and fuel tank, and lubricating moving parts.
- Troubleshoot common issues by checking the fuel source, inspecting mantles and burner, and testing the ignition system.
- Learn DIY repair techniques such as rust removal with apple cider vinegar and sourcing replacement parts from local stores, online marketplaces, or fellow lantern enthusiasts.
Understanding Lantern Types
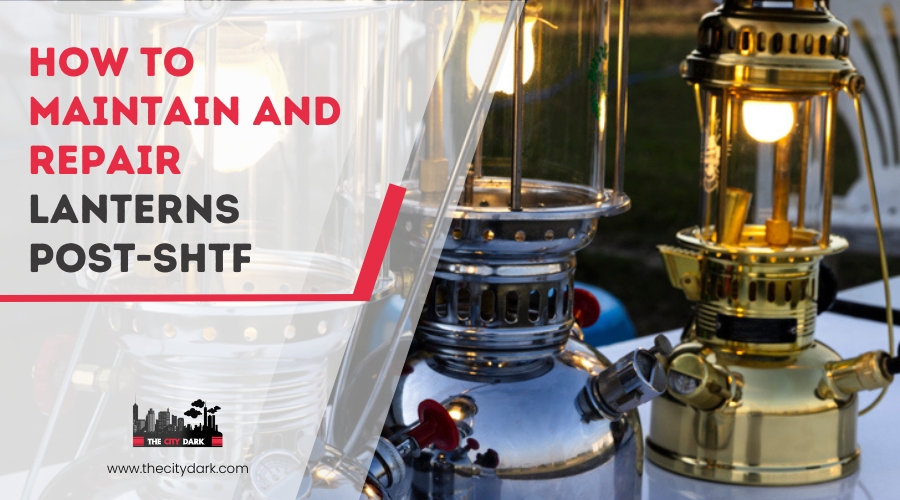
Diving into the world of lanterns, it’s crucial you understand the different types available, such as kerosene, propane, and electric, each with its unique maintenance and fuel requirements.
Kerosene lanterns, for example, require you to regularly check and replace the wick, while propane lanterns, like a Coleman lantern, need you to monitor the gas connection and replace the canister when empty. Electric lanterns, on the other hand, demand battery replacements or recharging, depending on the model.
Each type of light source offers varying levels of brightness, burn time, and fuel efficiency. A Coleman lantern, often fueled by Coleman fuel, is prized for its reliability and brightness, making it a favorite among outdoor enthusiasts. However, the type of lantern you choose should align with your specific needs. Whether it’s the long burn time of a kerosene lantern, the brightness of a Coleman lantern, or the convenience of an electric model, your decision impacts how you maintain and repair your light source.
Being knowledgeable about your lantern’s specific requirements not only ensures you’re prepared to keep it functioning but also helps you make informed decisions on which lantern best suits your post-SHTF needs.
Routine Maintenance Tips
To ensure your lantern remains reliable post-SHTF, it’s crucial to adopt a routine maintenance schedule. By following simple routine maintenance tips, you’ll guarantee that your lantern is always ready when you need it, avoiding the frustration of discovering issues when it’s too late. Let’s dive into the key steps you should never skip.
| Maintenance Task | Why It’s Important |
|---|---|
| Check and replace the mantles | Ensures bright and consistent light |
| Clean the glass globe; check for damage | Prevents performance issues |
| Inspect and clean the fuel tank | Avoids clogs and maintains functionality |
First off, don’t forget to regularly check and replace the mantles. This step is crucial for keeping your light bright and reliable. Next, make sure to clean the glass globe and inspect it for any cracks or damage. This can significantly affect your lantern’s performance, so it’s better to catch any issues early.
Additionally, inspect the fuel tank for any signs of rust or corrosion and clean it thoroughly. This helps prevent clogs that could hinder your lantern’s functionality. Don’t skip lubricating the moving parts, such as the pump and valve, to ensure everything operates smoothly. Remember to test your lantern periodically and make any necessary adjustments.
Troubleshooting Common Issues
While routine maintenance keeps your lantern in top shape, you’ll also need to know how to troubleshoot common issues that can arise. One lantern not lighting up during a power outage isn’t just inconvenient; it’s a safety hazard. So, when troubleshooting common issues, start by checking the fuel source. Ensure it’s adequate and not contaminated, as dirty fuel can clog your lantern and prevent it from lighting.
Next, inspect the mantles for any signs of damage or wear and tear. If they’re compromised, they won’t light properly, so replace them as needed. Don’t overlook the burner; it must be clean and free from debris and blockages to function correctly. This step is crucial for a steady and reliable light.
Also, verify the functionality of the ignition system. A good spark and consistent fuel flow are essential for ignition, so make sure both are in working order.
Lastly, always test your lantern’s performance before and after making any repairs. This ensures it’s working effectively and ready for use when you need it most, especially during unexpected power outages.
DIY Repair Techniques
When tackling lantern repairs yourself, it’s crucial to start with the right techniques and materials to ensure a successful fix. DIY repair techniques not only save money but also extend the life of your lantern, making sure you’re never left in the dark.
Here’s how to go ahead with a proper cleanup and rust removal:
- Dissolve Rust with Apple Cider Vinegar: Begin by filling the lantern tank with apple cider vinegar. Let it soak to dissolve any rust. This step is vital for lanterns that have been out of use and have accumulated rust inside.
- Neutralize with Baking Soda: After the vinegar has done its job, rinse the tank with a mixture of baking soda and water. This neutralizes the vinegar, ensuring no acidic residue remains that could further damage the metal.
- Dry Thoroughly to Prevent Future Rust: Finally, make sure to thoroughly clean the tank to remove any lingering rust particles. Use alcohol to absorb any remaining water, as this will help prevent rust from forming again. Ensure the tank is completely dry before using the lantern to avoid any risk of rusting reoccurring.
Sourcing Replacement Parts
After mastering DIY repair techniques, you’ll next need to identify and obtain the necessary replacement parts for your lantern. Sourcing replacement parts is where you’re going to go deeper into the maintenance world. First, pinpoint the exact parts that need replacing. Once you know what you’re looking for, start by checking local stores or resources specializing in lanterns or outdoor equipment. They might just have what you need.
If local options are scarce, consider salvaging parts from non-functioning lanterns or devices with similar components. Sometimes, the solution is right in front of you, in old, forgotten gadgets lying around. If you’re still out of luck, it’s time to explore online marketplaces. These can be goldmines for finding even the most obscure parts.
Don’t forget to connect with other lantern enthusiasts. They’re a treasure trove of information and might as well have spare parts to trade or sell. Tapping into a community can simplify your search significantly.
Conclusion
In the aftermath, keeping your lanterns in top shape is crucial. You’ve learned to understand different lantern types, tackle routine maintenance, troubleshoot common issues, and master DIY repair techniques. Remember, sourcing replacement parts can be a challenge, so always inspect used lanterns carefully before purchase. Regular cleaning, avoiding rust, and ensuring all parts function are key to longevity.
Stay prepared by applying these tips, and your lanterns will light your way, no matter what comes. Stay bright, stay informed.


