Candle Making for Preppers
Have you ever considered the importance of candle making in your repertoire of survival skills? As a prepper, you're likely always on the lookout for ways to enhance your self-sufficiency, and mastering the art of candle crafting offers just that.
Not only does it ensure you have a reliable source of light during power outages or in the aftermath of natural disasters, but it also provides a cost-effective alternative to store-bought candles.
Furthermore, the customization options for scents and designs allow for a personal touch in what might otherwise be a purely practical endeavor. As we explore the essential benefits, gather supplies, and walk through the candle crafting process, keep in mind the added layer of preparedness and comfort you're bringing to your home.
There's a bit more to discover about how this age-old skill can make a significant difference in your preparedness strategy.
Key Takeaways
- Candle making provides a reliable and cost-effective light source during power outages or emergencies.
- Customization options for scents and designs allow for a personalized and sustainable approach to emergency preparedness.
- Candle making fosters a sense of self-reliance and resourcefulness, empowering individuals to be prepared for unforeseen situations.
- Storing and utilizing candles wisely, such as rotating stock and repurposing old candles, helps minimize waste and ensures readiness in times of need.
Essential Benefits of Candle Making
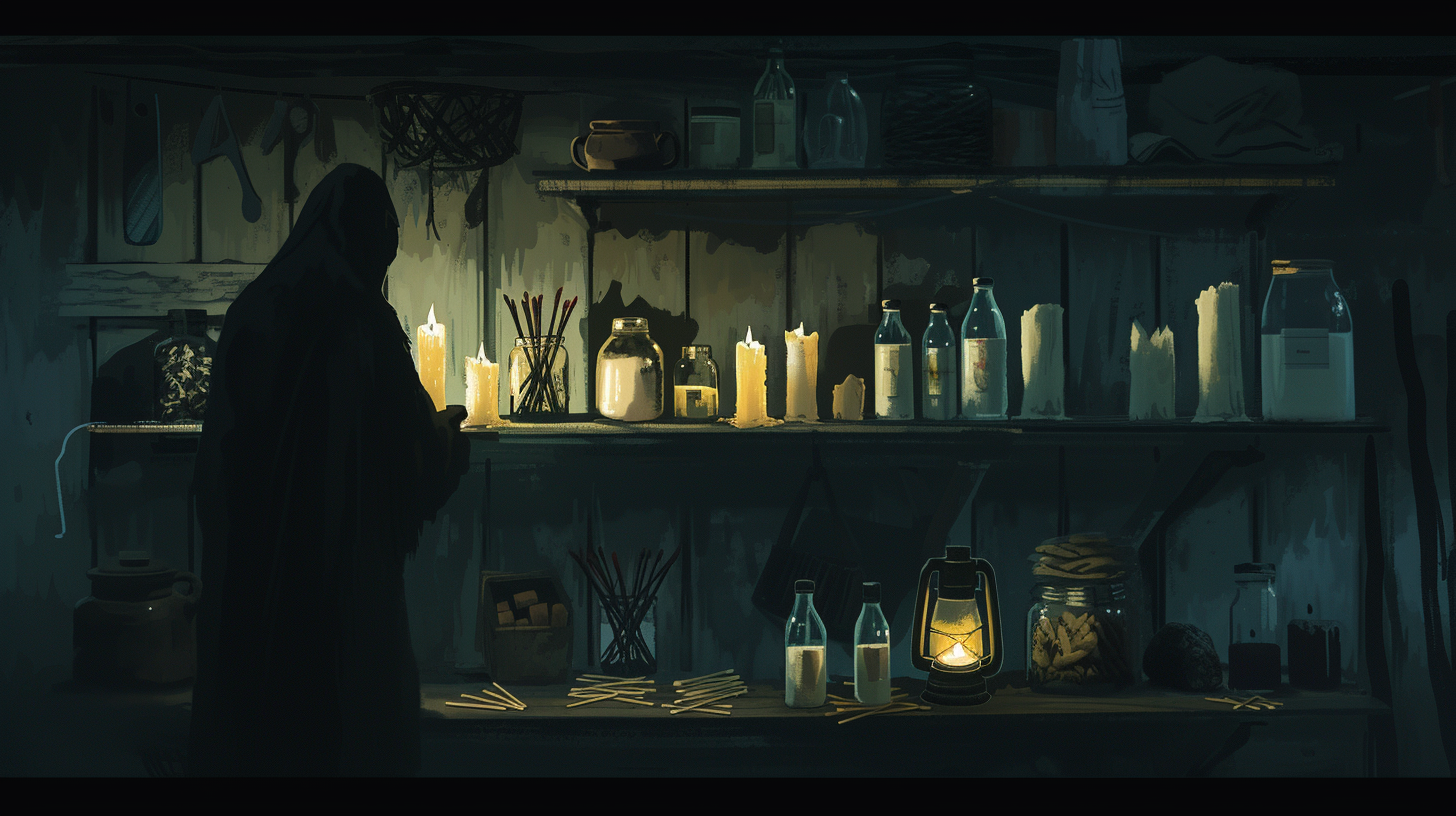
Why overlook the essential benefits of candle making when it can significantly boost your self-sufficiency and preparedness? This skill isn't just about creating a cozy ambiance; it's a cornerstone of survival skills. By mastering candle making, you ensure a reliable light source during power outages or emergencies. Imagine the peace of mind knowing you've got survival candles at the ready, made from soy wax, paraffin wax, or beeswax. You're not just prepared; you're equipped.
The process is straightforward: melt wax, pour it into molds, and voilà, you've got candles. Whether it's taper candles for a blackout or scented ones to lift your spirits, the customization options are endless. Plus, making your own candles is cost-effective and a sustainable approach to emergency preparedness. You can repurpose old containers, reducing waste, and ensuring long-term availability of light during natural disasters.
It's not just a craft; it's a preparedness strategy that fosters a sense of self-reliance and resourcefulness. So, why not dive into candle making? It's a valuable addition to your survival toolkit.
Gathering Your Candle Making Supplies
Before you embark on your candle-making journey, it's crucial to gather all the necessary supplies, ensuring a smooth and successful creation process. The art of making candles can be both rewarding and practical, especially when you're equipped with the right materials. To help you get started, here's a concise list of essentials:
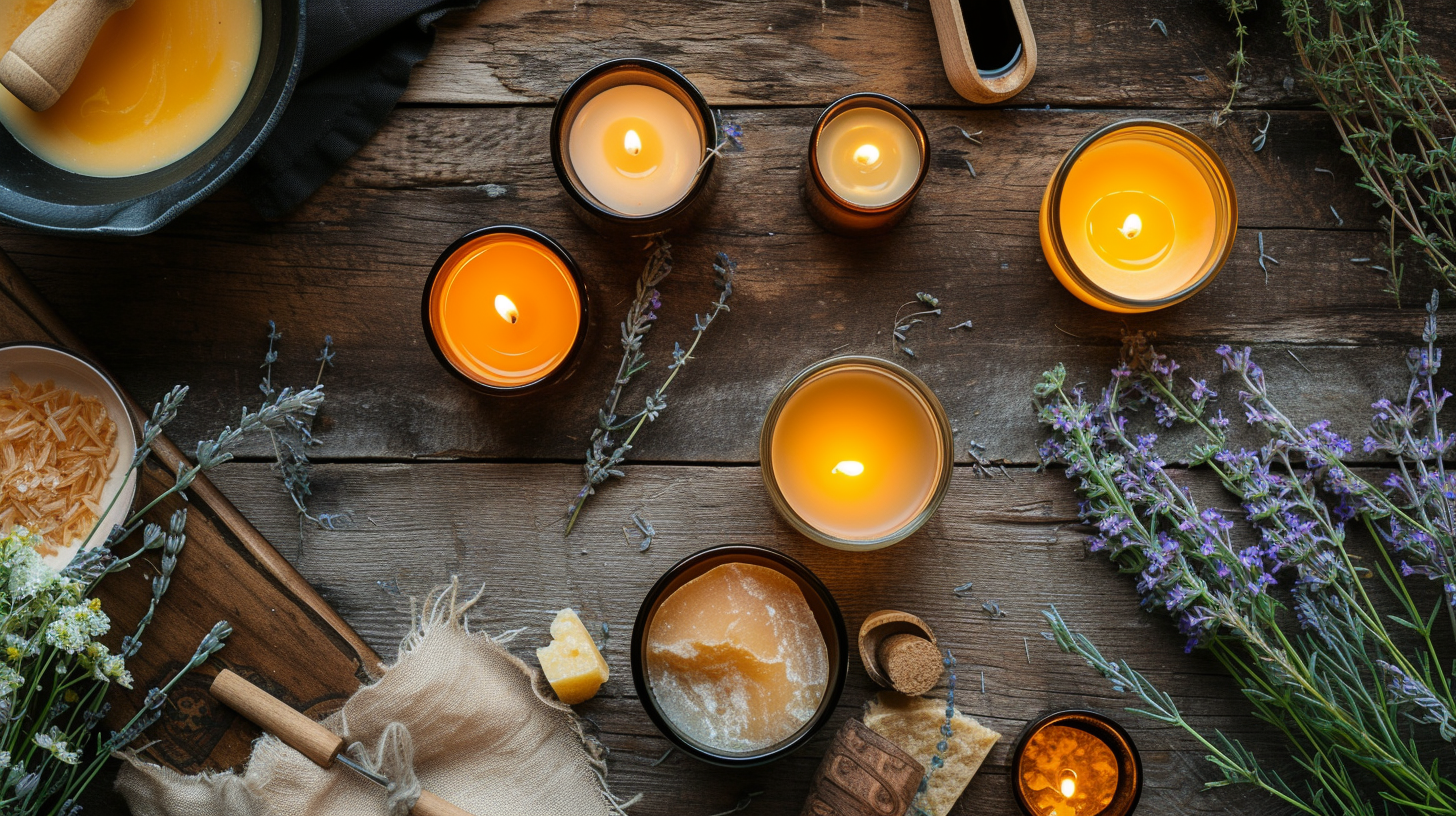
- Wax: Choose between soy wax or beeswax based on your preference. Both have distinct benefits and will impact how your candle burns.
- Candle Wicks: Select wicks that complement the size of your candle and the type of wax you're using to ensure an even burn.
- Containers or Molds: Mason jars or specifically designed molds are perfect for shaping your candles. Ensure they're heat resistant.
- Fragrance: Add scent to your candles with essential oils or fragrance oils, turning them into aromatic delights.
- Colorants: Achieve the desired hue with oil-based food coloring or candle dye, making your candles visually appealing.
Step-by-Step Candle Crafting Process
Having gathered all your candle-making supplies, let's move on to the exciting part: crafting your candles step by step.
| Step | Description |
|---|---|
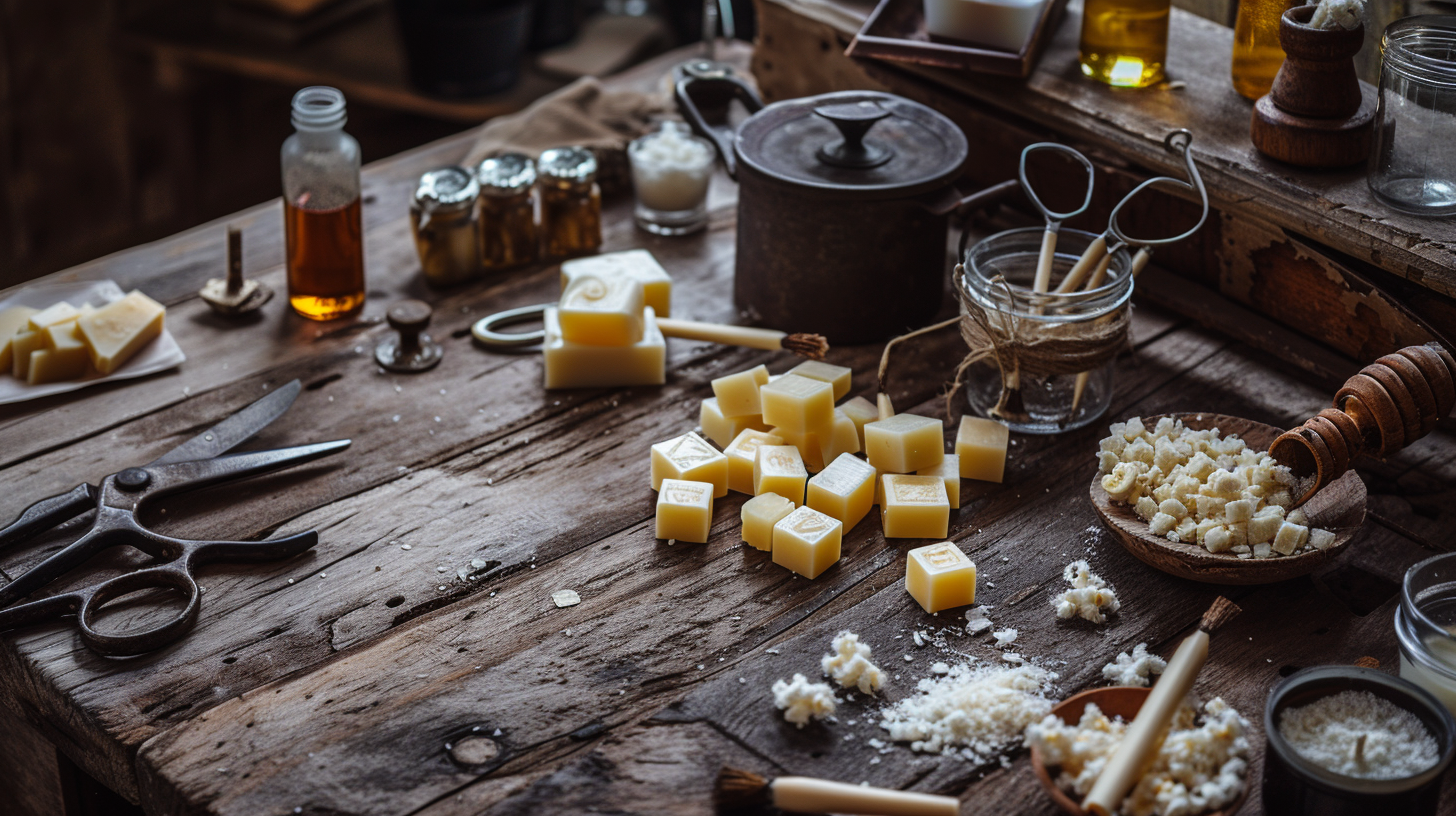
| Prepare Materials | You'll need wax (soy, beeswax, or even animal fat for a true survival candle), wicks, glass jars, fragrance oils, and colorants. An old candle can also serve as a source for wax. |
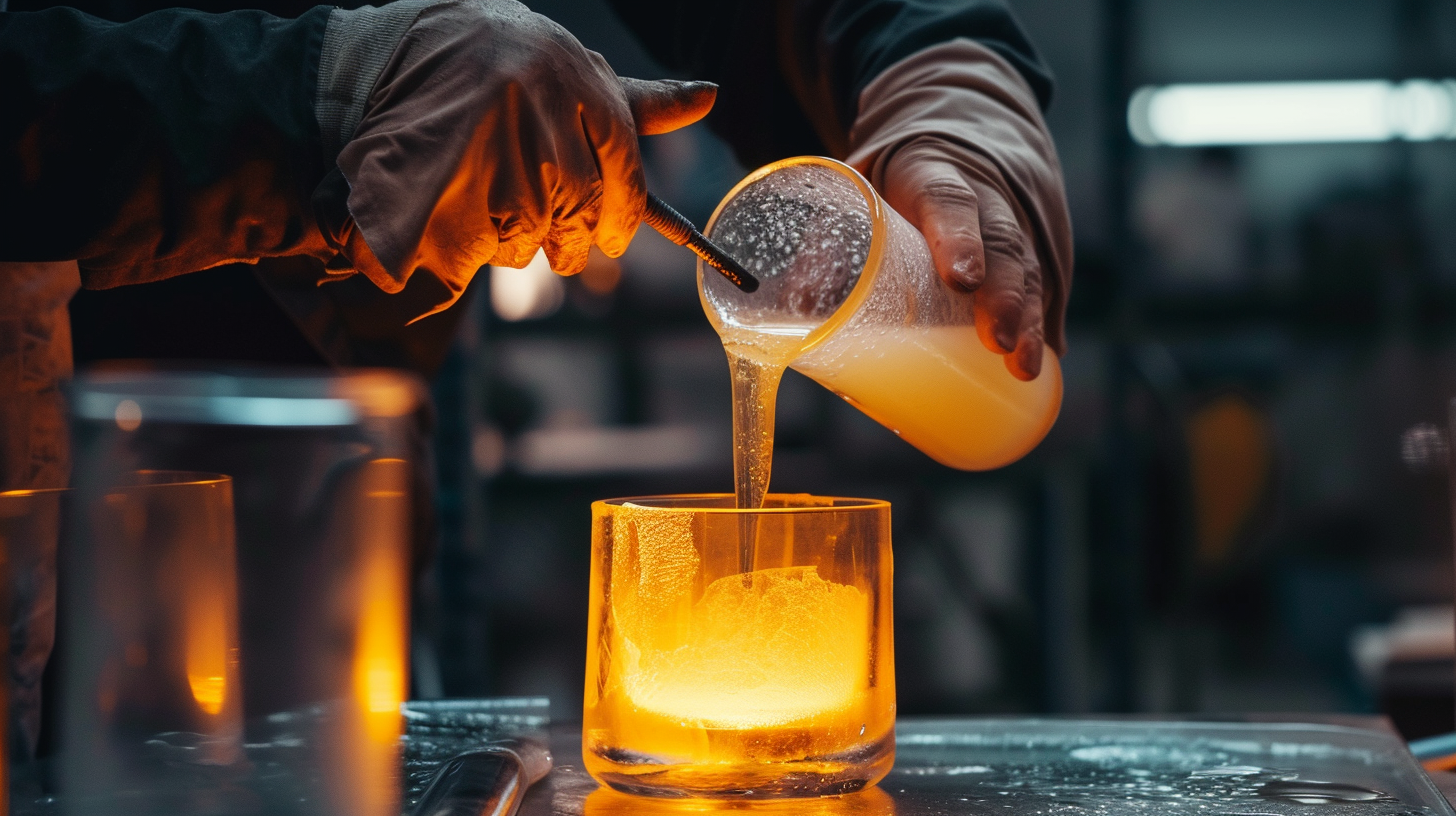
| Melt the Wax | Place your chosen wax in a double boiler or a heat-safe container in boiling water, making sure to melt the wax completely. This step is crucial to make candles with a smooth finish. |
| Add Scent and Color | Once melted, mix in your fragrance or essential oils and colorants to personalize your home-made candles. This step is optional but adds a lovely touch. |
| Pour and Cool | Secure the wick in your container or mold before carefully pouring the melted wax in. Let it cool and solidify, ensuring your survival candle is ready for use. |
Making candles is not just a craft; it's a valuable skill for any prepper. By following these steps, you're not only creating a light source but also ensuring you have a sustainable way to make candles that can be used in any situation.
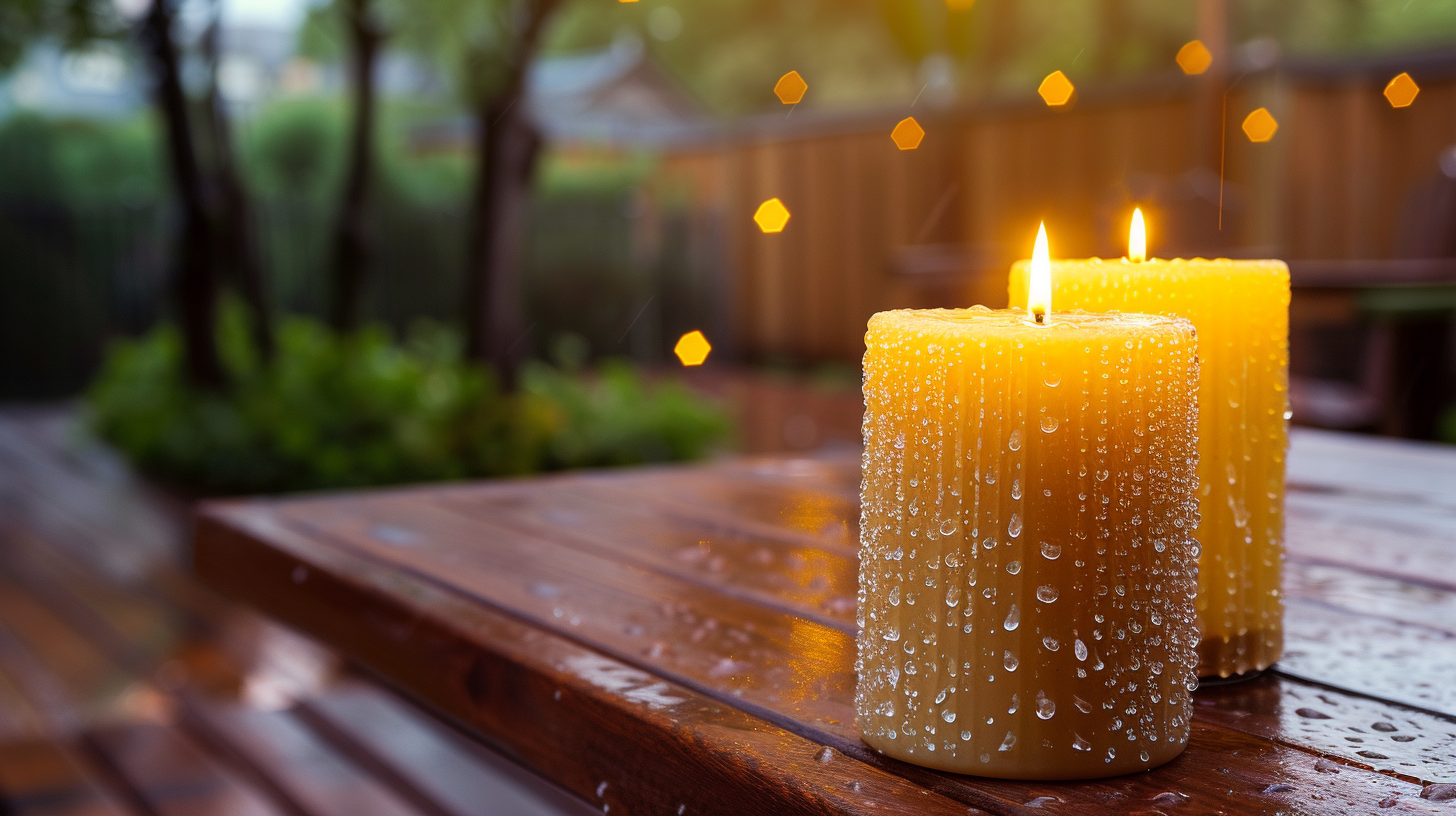
Safety Tips for Candle Making
When making candles, it's crucial to prioritize safety by working in a space that's well-ventilated to minimize the risk of inhaling harmful fumes. Candle making, whether it's for survival, to learn how to make a scented candle, or simply to give it a try, involves more than just melting wax and pouring it into candle jars. It requires attention to detail and adherence to safety practices to ensure the process is both enjoyable and safe.
This great post offers essential safety tips for candle making that you should always keep in mind:
- Use caution when handling hot wax to prevent burns. Always wear protective gear and handle materials with care.
- Keep flammable materials away from the candle-making area to avoid accidental fires. This includes paper, fabric, and any volatile substances.
- Use appropriate containers and molds that can withstand high temperatures. Not all materials are suitable for candle making; choosing the right container is crucial.
- Follow manufacturer instructions for specific materials and equipment. Each type of wax and dye may have its own set of guidelines.
- Light and Heat: Ensure your work area is well-lit and that heat sources are managed safely to prevent accidents.
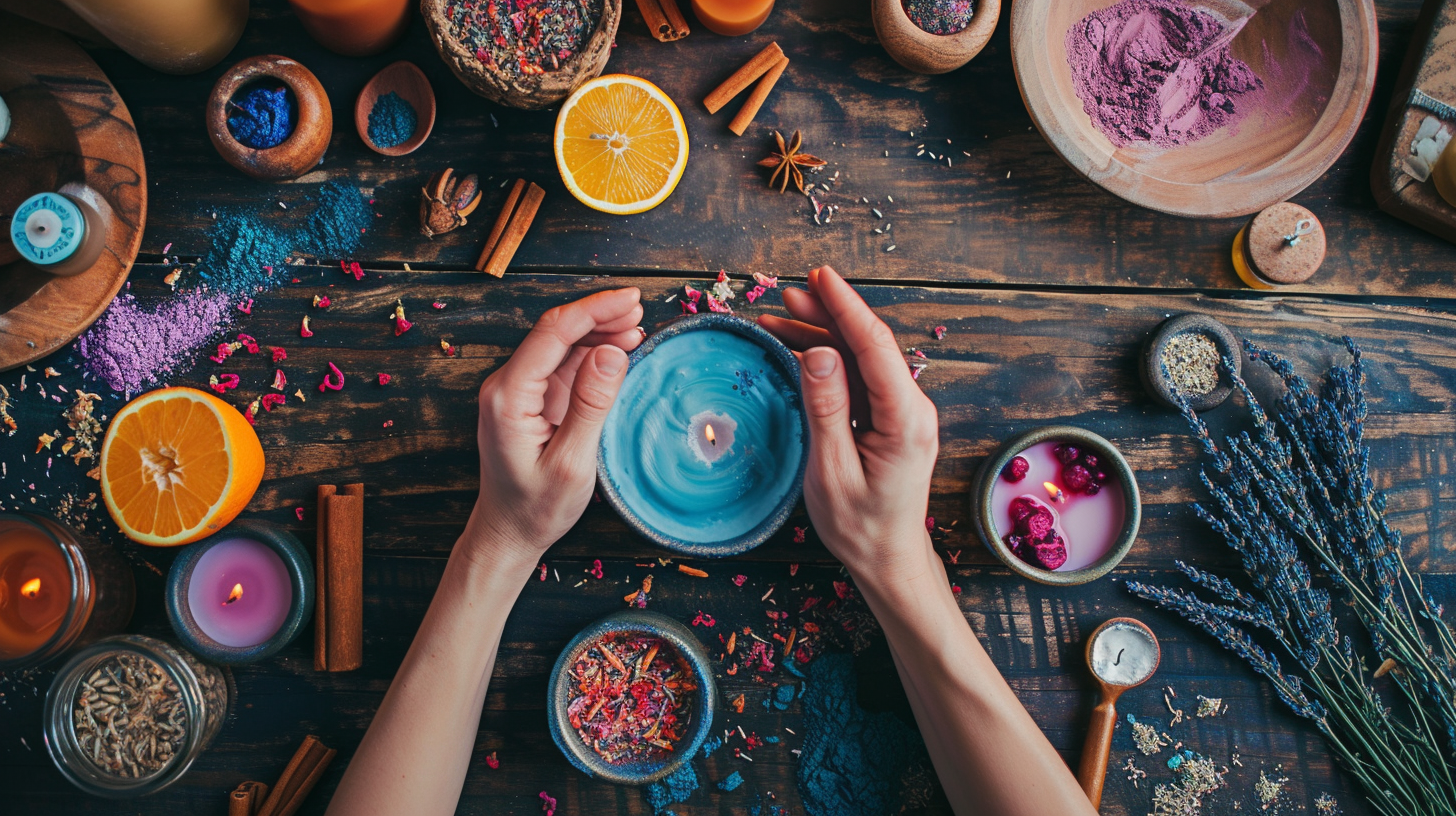
Enhancing Candles With Scents and Colors
After mastering the basics of candle making and adhering to essential safety tips, you're now ready to explore the creative aspects of enhancing your candles with scents and colors.
If you've never tried making candles before, let me know how you think it would go. It's much easier than you might imagine, especially with a little guidance.
To kick things off, make sure to use oil-based colors or soy wax dye. This approach ensures your candles have vibrant hues without affecting the burn quality. Remember, years ago, options were limited, but today, we're spoiled for choice.
Adding fragrance is another fantastic way to personalize your candles. By melting the wax in small batches, you can experiment with different essential oils, adding them directly into the bottle for a more concentrated scent. This method not only makes your made candles uniquely yours but also fills your space with delightful aromas.
Lastly, a pro tip: freezing the glass bottle before pouring the wax can help to set the wick in place, making the process smoother.
Enhancing candles with scents and colors has never been easier. All rights reserved for your creativity to shine!
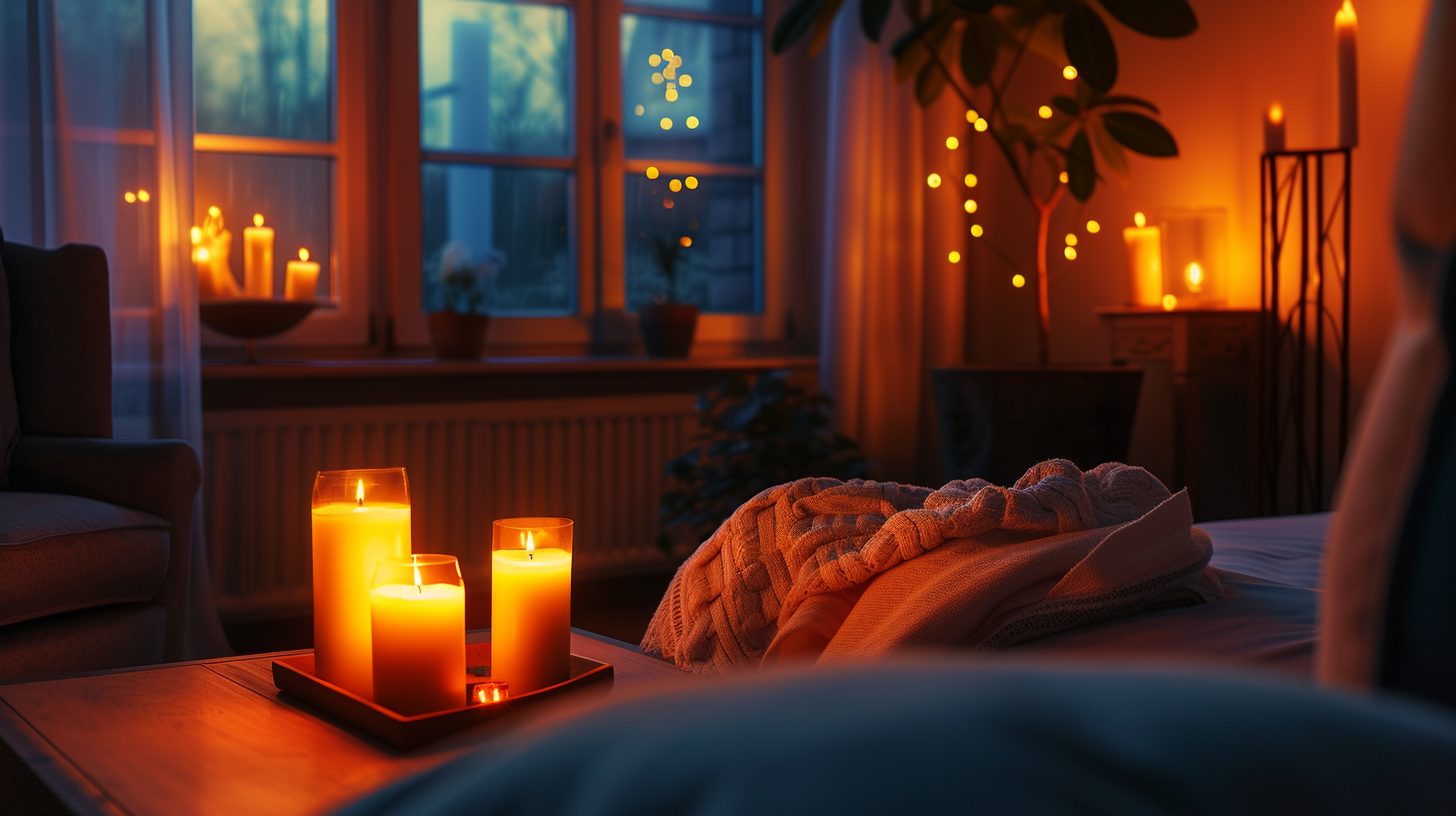
Storing and Utilizing Your Candles Wisely
To maximize the longevity and effectiveness of your candle stash, it's crucial to store them in a cool, dry place out of direct sunlight. This simple step ensures your candles don't warp or degrade prematurely, keeping them ready for when you need them most.
Here are five key points to remember:
- Keep an inventory of your candles to make sure you've got enough for emergencies but aren't overstocking.
- Rotate your stock, using the oldest candles first to ensure they're in top condition when you need them.
- Use your candles regularly, not just for ambiance but also as a practical light source in emergencies.
- Repurpose old candles and remnants to create new ones, minimizing waste and maximizing resources.
- Store your candles properly to prevent damage and ensure they're ready when required.
Conclusion
In conclusion, mastering candle making is a smart move for any prepper. You'll not only save money but also ensure you're ready for any emergency. Gathering supplies and following a simple step-by-step process lets you customize candles to your liking.
Remember, safety first to avoid any mishaps. By adding scents and colors, you'll enhance your candle-making experience. Finally, storing your candles properly ensures they're ready when needed.
Embrace candle making; it's not just practical, it's empowering.