How to Make DIY Emergency Lights Using Household Items
During unexpected power outages, knowing how to make DIY emergency lights from household items can be incredibly useful. You don't need specialized tools; simple items like mason jars, tin cans, and even crayons can be converted into effective light sources.
Imagine using olive oil or bacon grease in a glass bottle with a cotton wick to illuminate your space, or melting down crayons to produce makeshift candles. These methods are cost-effective and practical. However, before you get started, it's essential to consider key safety precautions and techniques to ensure successful and safe results.
Essential Materials
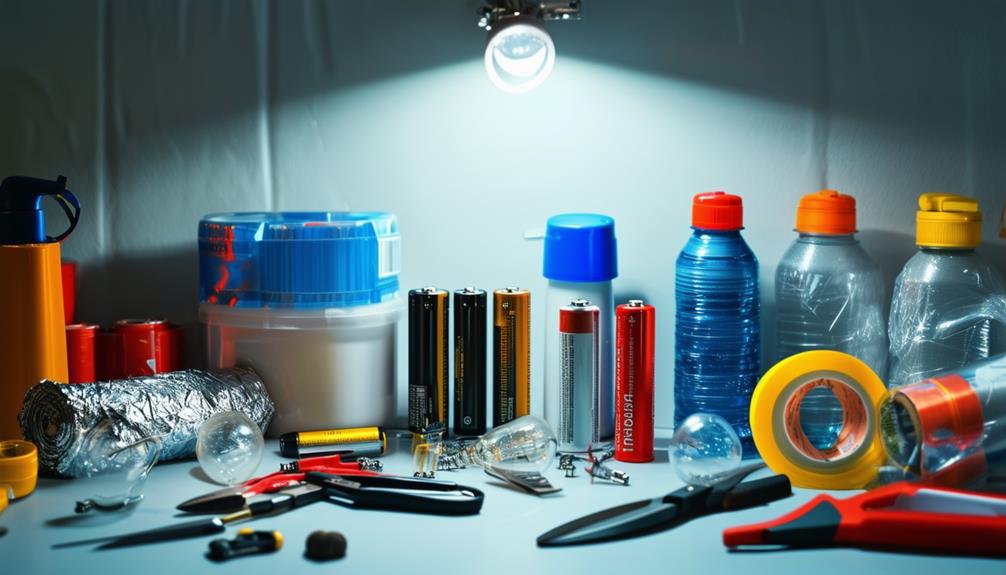
To create DIY emergency lights, you'll need essential materials such as LED bulbs, resistors, batteries, and a soldering iron. These components are crucial for establishing a reliable light source during power outages. Select high-efficiency LED bulbs, as they consume less power and provide bright light.
Resistors are necessary to control the current flow and prevent the LEDs from burning out. Batteries are needed to power your emergency light, with rechargeable batteries being the best choice for long-term use and sustainability. A soldering iron is essential for securely connecting the components.
For testing your circuit design before final assembly, a breadboard or prototype board is indispensable, allowing you to adjust and perfect your setup without permanent soldering. Incorporate green LEDs to indicate battery charge status, adding functionality to your project.
EasyEDA is a useful tool for designing schematics and PCB layouts, making your project more organized and professional. Lastly, don't overlook mounting standoffs, which provide necessary clearance and stability, ensuring that your components are securely in place. With these materials, you're well on your way to creating efficient DIY emergency lights.
Simple Candle Hacks
Discover some clever candle tricks for emergency lighting. You can turn crayons into makeshift candles or use bacon grease to create a functional light source. These simple hacks provide extra lighting options when you're in a pinch.
Crayon Candle Creation
Creating emergency candles from crayons is a practical and straightforward solution for power outages. Crayons are essentially wax sticks, making them an excellent makeshift light source. When you need emergency lighting and supplies are limited, these colorful tools can provide a quick and effective solution.
To create a crayon candle, start by lighting the paper label end of the crayon. It will burn for about 30 minutes, providing temporary illumination. For a longer-lasting crayon candle, remove the paper from multiple crayons and bind them together with a wick. This can significantly extend the burn time.
Here's a quick comparison table to guide you through the process:
| Method | Materials Needed | Burn Time |
|---|---|---|
| Single Crayon Candle | One Crayon | ~30 minutes |
| Multiple Crayon Candle | Several Crayons & Wick | Up to a few hours |
| Crayon with Paper | Crayon with Paper Label | ~30 minutes |
| Stripped Crayon | Crayon without Paper | Varies (depends on wick) |
| Bound Crayon Bundle | Multiple Crayons & Wick | Longer duration |
Including a few crayons in your emergency kit ensures you're always prepared. These 'Crayndles' are simple to make and can be lifesavers in a pinch, especially in situations requiring immediate and accessible emergency lights.
Make sure to handle these makeshift candles with care and never leave them unattended to avoid potential fire hazards.
Bacon Grease Lights
Turn leftover bacon grease into a reliable emergency light by adding a simple wick. This DIY project not only repurposes household waste but also provides a cost-effective solution for emergency lighting during power outages.
Here's how you can do it:
- Collect Bacon Grease: After cooking bacon, pour the grease into a jar and let it solidify at room temperature.
- Prepare the Wick: Take a cotton string or a piece of twine and coat it with some bacon fat. This will help the wick burn more efficiently.
- Assemble the Candle: Place the prepared wick in the center of the jar filled with solidified bacon grease, ensuring the wick stands upright.
Bacon grease candles can burn as long as regular candles, providing a dependable source of light when needed most. Additionally, they add a unique bacon scent to your space, creating a cozy atmosphere.
This DIY project combines practicality with creativity. By using bacon grease as your emergency light source, you not only save money but also find an innovative way to stay prepared for unexpected situations.
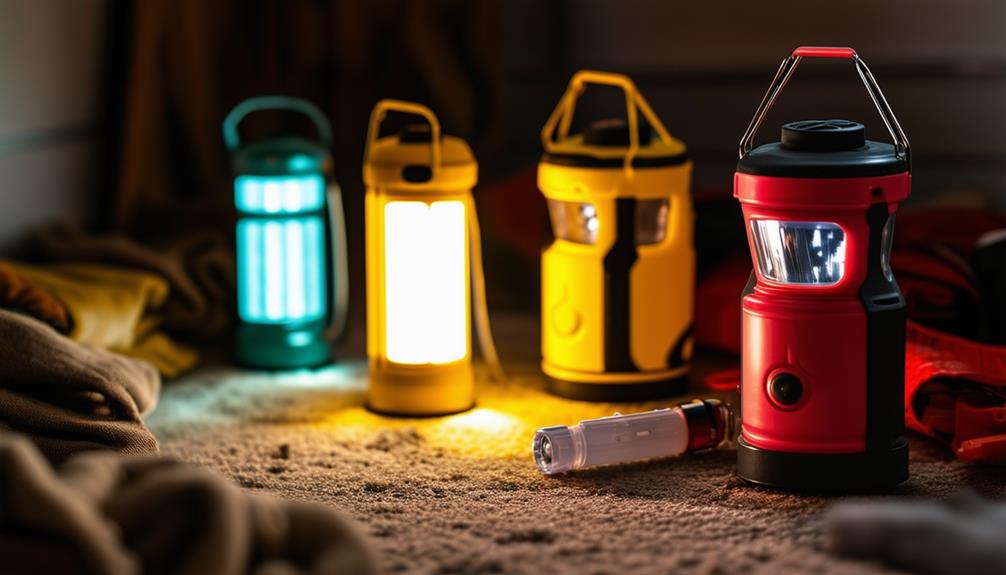
Flashlight and Headlamp Tips
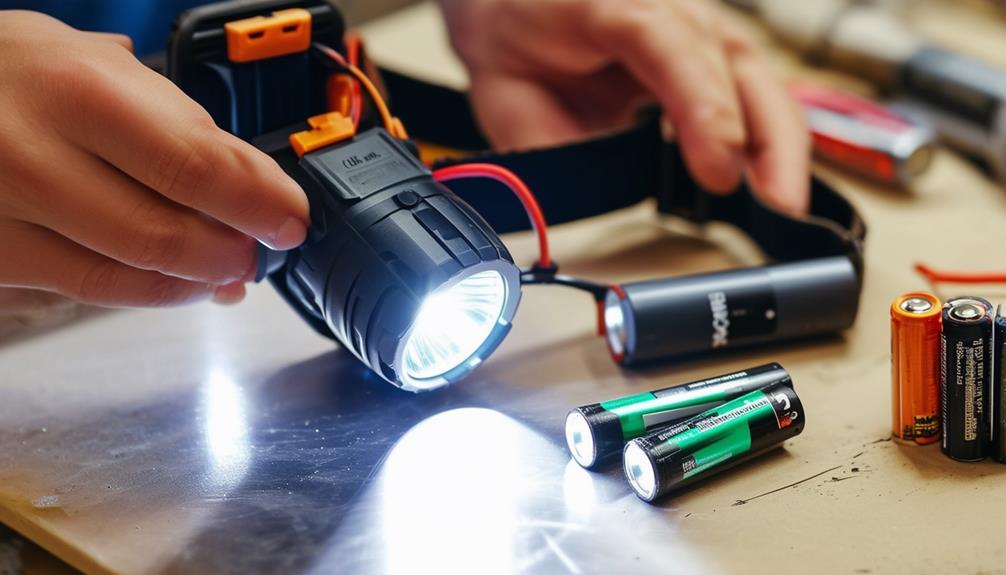
When preparing for emergencies, ensure your flashlights and headlamps are easily accessible and in good working condition. Power outages can occur unexpectedly, so having these items in your emergency kit is crucial.
Flashlights vary in size, from keychain lights to handheld devices, making them versatile tools for any situation. Headlamps are especially useful during power outages because they provide hands-free illumination. This allows you to perform tasks more effectively, whether you're cooking, reading, or fixing something in the dark.
Regularly check and replace the batteries in your flashlights and headlamps to ensure they function when needed. Hand-cranked flashlights are a reliable alternative. They don't rely on batteries, allowing you to generate light by simply cranking the handle. This makes them an excellent backup for your emergency kit.
However, avoid using your phone's flashlight excessively during emergencies to conserve its battery for communication and other essential functions.
DIY Lanterns and Lamps
Creating your own lanterns and lamps is both practical and enjoyable, offering reliable lighting during emergencies.
Here are three easy DIY options using common household items:
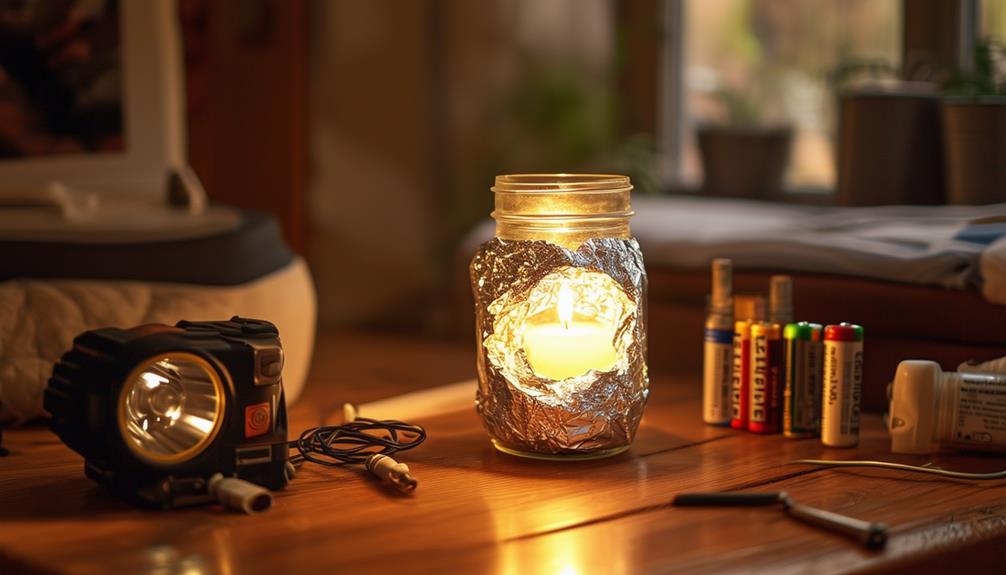
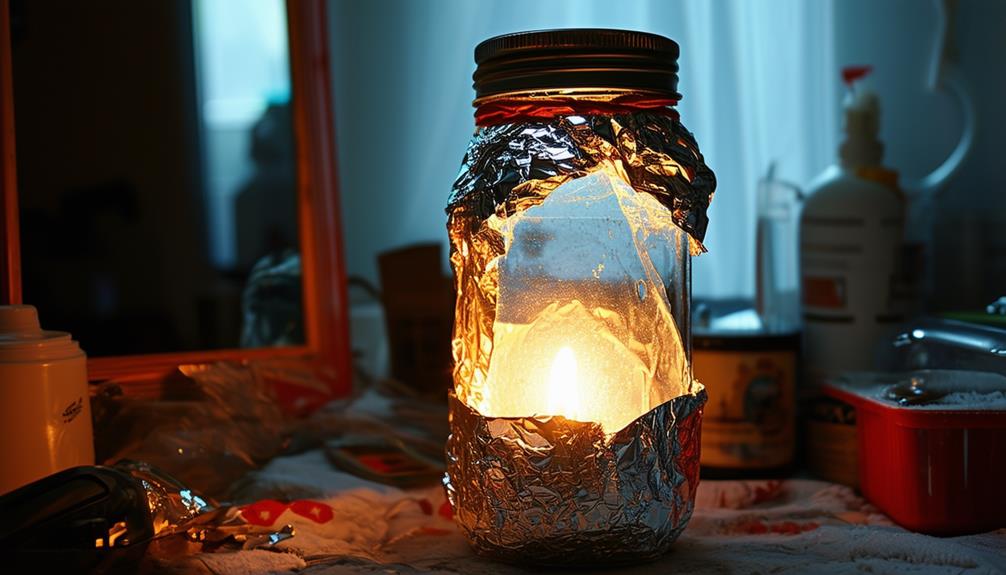
- Mason Jar Oil Lamps: Fill a mason jar halfway with vegetable oil. Insert a cotton wick through a small hole in the lid, ensuring the wick is submerged in the oil. Light the wick for a bright, dependable light source.
- Olive Oil Lamps: For a sustainable, long-lasting light, fill a small container with olive oil and insert a cotton wick. Once lit, the wick provides a steady flame that can burn for hours.
- Tin Can Lanterns: Create a decorative lantern by punching holes in the sides of a tin can using a hammer and nails. Place a small candle or tea light inside, and the light will shine through the holes, offering both functionality and charm.
These DIY lanterns and lamps are simple to make and provide essential lighting when needed.
Creative Lighting Solutions
In the event of a power outage, everyday items can be transformed into effective light sources. Crayons, bacon grease, and Crisco cans can all be converted into makeshift candles. Techniques like using water-filled containers to diffuse headlamp light can efficiently illuminate your surroundings.
These innovative solutions not only provide essential light but also demonstrate resourcefulness in emergency situations.
DIY Candle Alternatives
In emergencies, you can rely on creative DIY candle alternatives that are both effective and easy to make using common household items.
Here are some practical solutions:
- Bacon Fat Candle: Collect your bacon fat and pour it into a heat-resistant container. Insert a cotton string as a wick. Once solidified, it serves as a makeshift candle that can burn for several hours. This unconventional method is surprisingly effective.
- DIY Oil Lamps: Create oil lamps with mason jars and olive oil. Fill a mason jar halfway with olive oil and insert a natural fiber wick or cotton string. Light it for steady illumination. This reliable and straightforward solution is easy to assemble.
- Crayon Candles: In an emergency, crayons can double as candles. Remove the paper wrapper and light the crayon. Each crayon burns for about 30 minutes, providing just enough light to navigate through a power outage.
These DIY candle alternatives are practical and utilize items you likely already have at home. Try them next time you find yourself in the dark!
Innovative Light Amplification
To optimize your light sources during an emergency, consider using mirrors to reflect and amplify the available light. By strategically positioning mirrors around a small light source, such as a candle or flashlight, you can significantly increase its reach and brightness. This straightforward yet effective technique allows you to illuminate a larger area with minimal resources.
Another inventive solution involves repurposing water bottles. Fill a clear water bottle with water and place it over a flashlight. The water disperses the light, creating a broader and more intense beam. This makeshift lantern serves as a mobile light source, ideal for navigating in the dark.
Additionally, if you run out of AA batteries, you can use AAA batteries combined with aluminum foil strips as a backup. The foil acts as a conductor, enabling you to power your devices in a pinch.
Safety Precautions
Always keep your DIY emergency lights away from flammable materials to prevent fire hazards. During power outages, exercise caution, especially if using an open flame.
Follow these key safety precautions:
- Ventilation: Ensure proper ventilation when using DIY emergency lights indoors, particularly if using candles or open flames, to avoid inhaling harmful fumes.
- Stability: Secure your lights in a stable position to prevent accidental tipping, which could lead to fires or other hazards, especially with setups involving glass or liquid fuel.
- Fire Extinguisher: Keep a fire extinguisher nearby to quickly address any small fires before they escalate.
Regularly inspect and maintain your DIY emergency lights, checking for wear and tear such as frayed wires or low battery levels to ensure they remain safe and effective.
Community Contributions
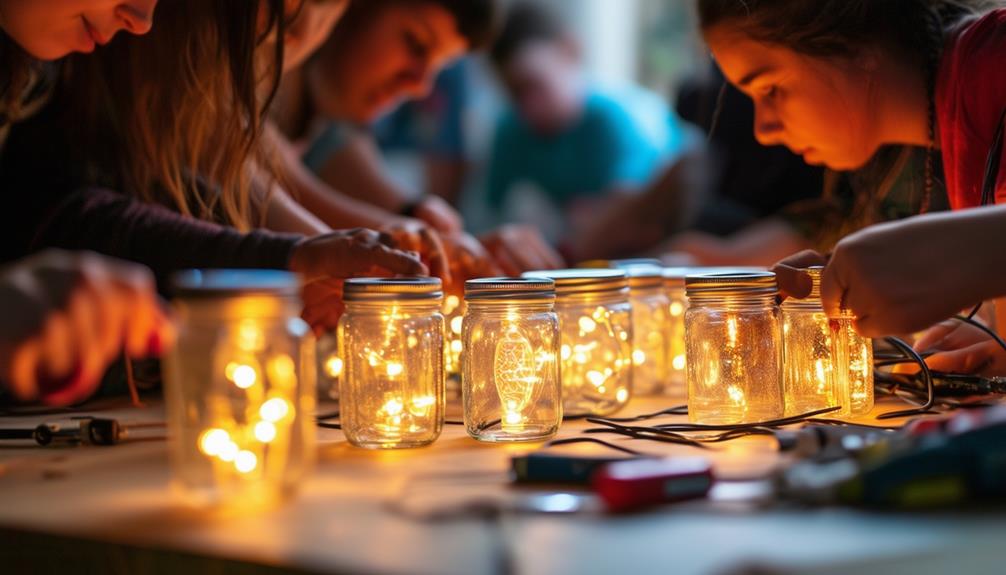
Tapping into the collective wisdom of your community unlocks a treasure trove of creative DIY emergency lighting solutions using everyday household items. These contributions can range from simple hacks to more intricate methods, all aimed at keeping you prepared during power outages.
Engaging with others can lead to insights you might never have considered. For instance, someone might suggest using a metal hanger to create a makeshift stand for a light source or explain how to fashion a lamp using a wick inside a jar filled with oil. Sharing personal experiences and success stories is invaluable, as it can inspire and guide you in crafting your own emergency lights.
Here's a quick overview of some community-sourced ideas:
| Idea | Materials Needed | Description |
|---|---|---|
| Metal Hanger Stand | Metal hanger, pliers | Bend a hanger to hold a candle or light bulb |
| Jar Oil Lamp | Jar, oil, wick | Fill a jar with oil and insert a wick for a simple lamp |
| Battery-Powered Light | Batteries, LED, wires | Create a light using a small battery-powered supply |
Collaborating with like-minded individuals fosters a sense of support and shared knowledge. By exchanging tips and tricks, you can enhance your emergency preparedness and empower others to do the same.
Conclusion
You can easily create DIY emergency lights using household items like mason jars, tin cans, or even crayons. These simple hacks ensure you're never left in the dark during power outages or emergencies.
Just remember to follow safety precautions and get creative with the materials at hand. By doing so, you'll be well-prepared for any situation. Share these tips with your community to help everyone stay safe and illuminated!
Related posts